

Bang-On Photography - Lori Clarke Interiors
Hey everyone! Some of you haven’t met me yet but you might have heard about me, so let me introduce myself: My name is Holly Brown Bear (yes, I know, but that is my real name) and I’ve been hired on as a photo editor here at Bang-On Photography; before my time here I went to Vancouver Film School as well as the New Brunswick Collage of Craft and Design and have been in the industry for about 3 years now. I’ve learned an insane amount in the 6 months I've worked with Chris so far and the first images he put me on were interior design edits. I was mainly a portrait photographer up to that point and he said it would be a good place for me to start learning different editing styles; this made me think it would be easy. HA! Little did I know that for the next week I would be leaving the studio dizzy from leveling out horizon lines and warped angles. My brain was literally trying to correct the sides of buildings and sidewalks as I walked by! Talk about taking your work home with you... jeez. Now that being said, I love a good challenge and Bang-On does a ton of interior design work so it was the perfect spot to dive right in. I want to share what I've learned to focus on while editing interior design photos and how to turn a strong image into what Chris would call a “Banger”! So let's go:
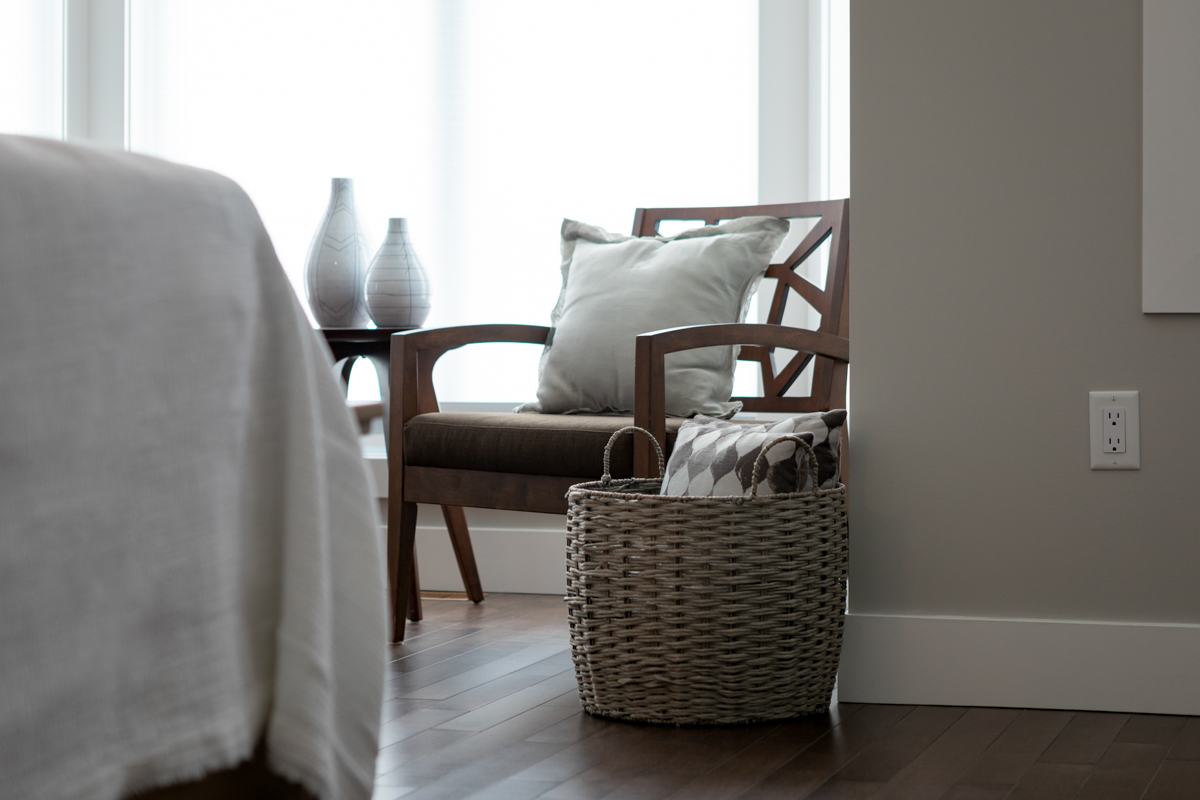
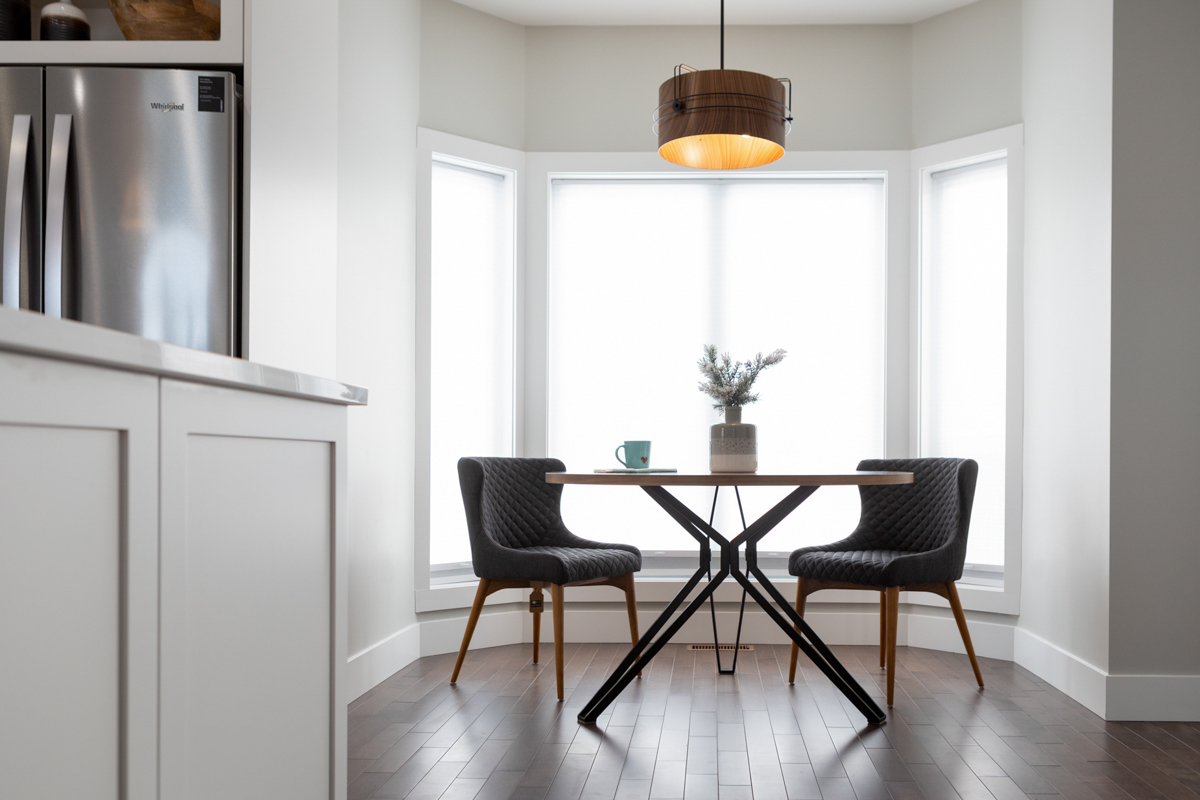
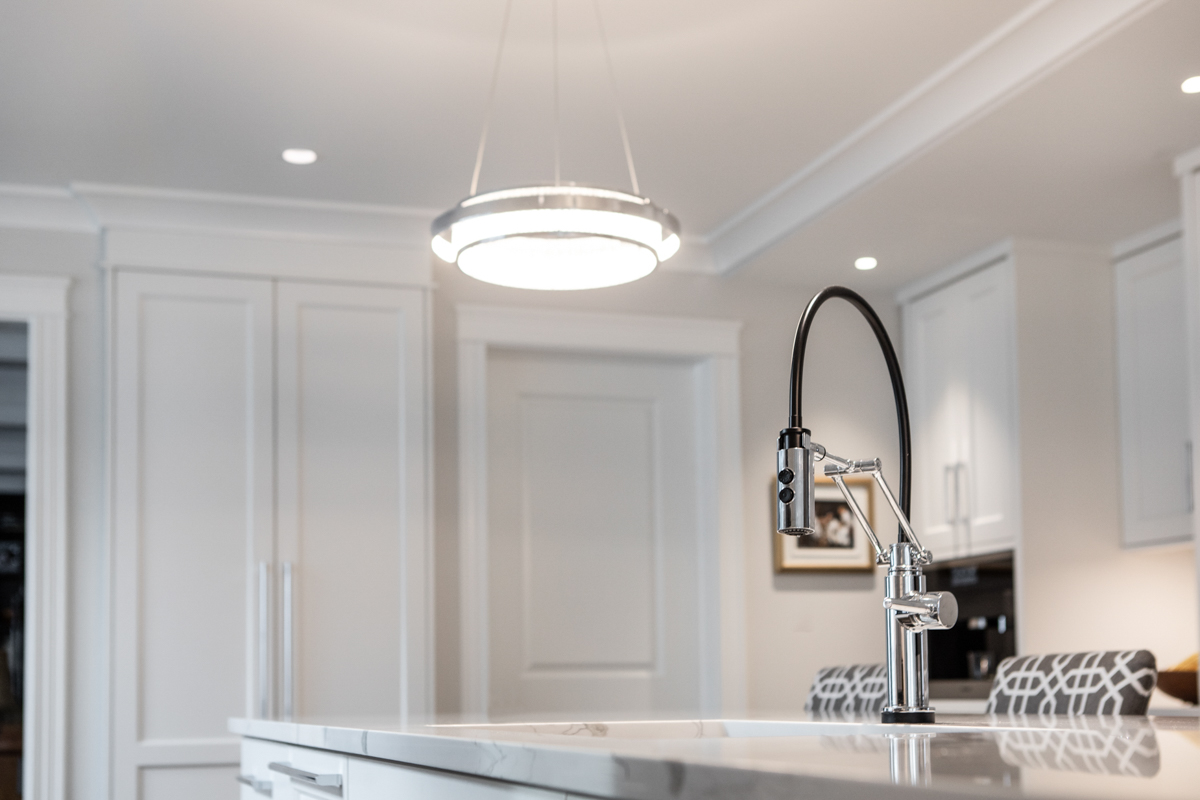
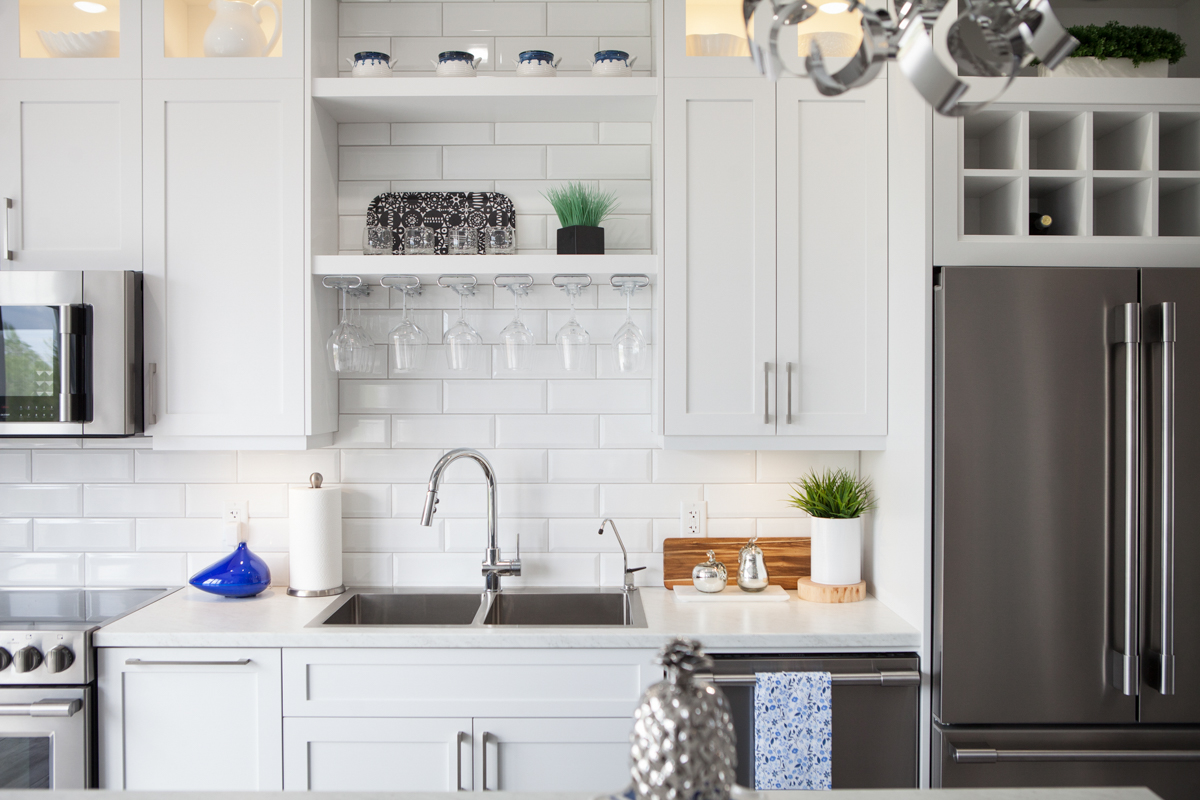
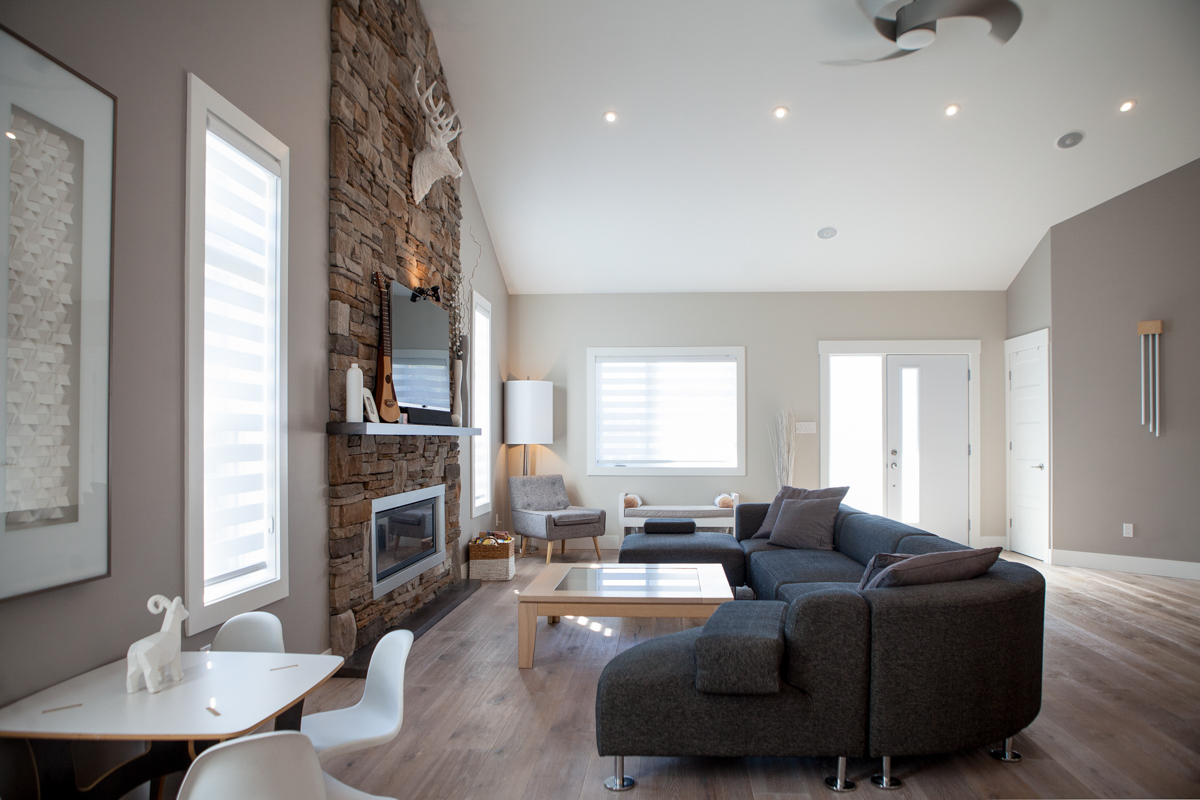
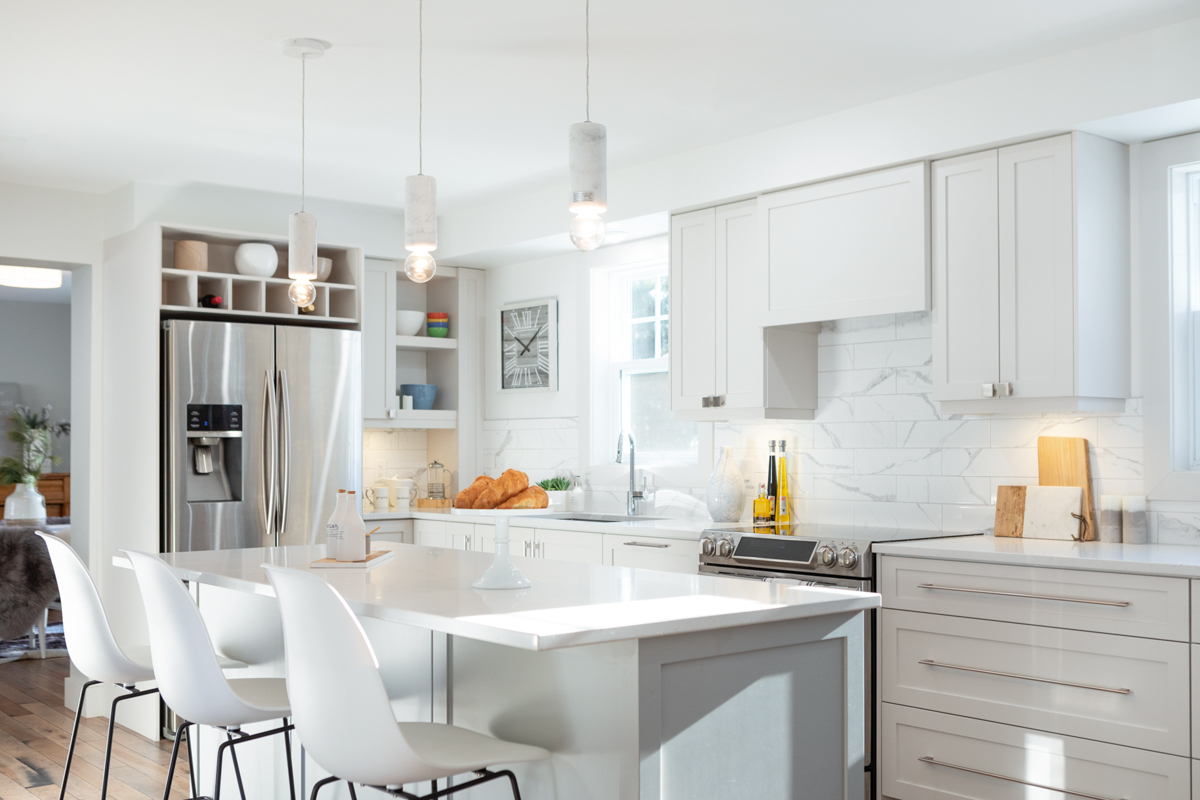
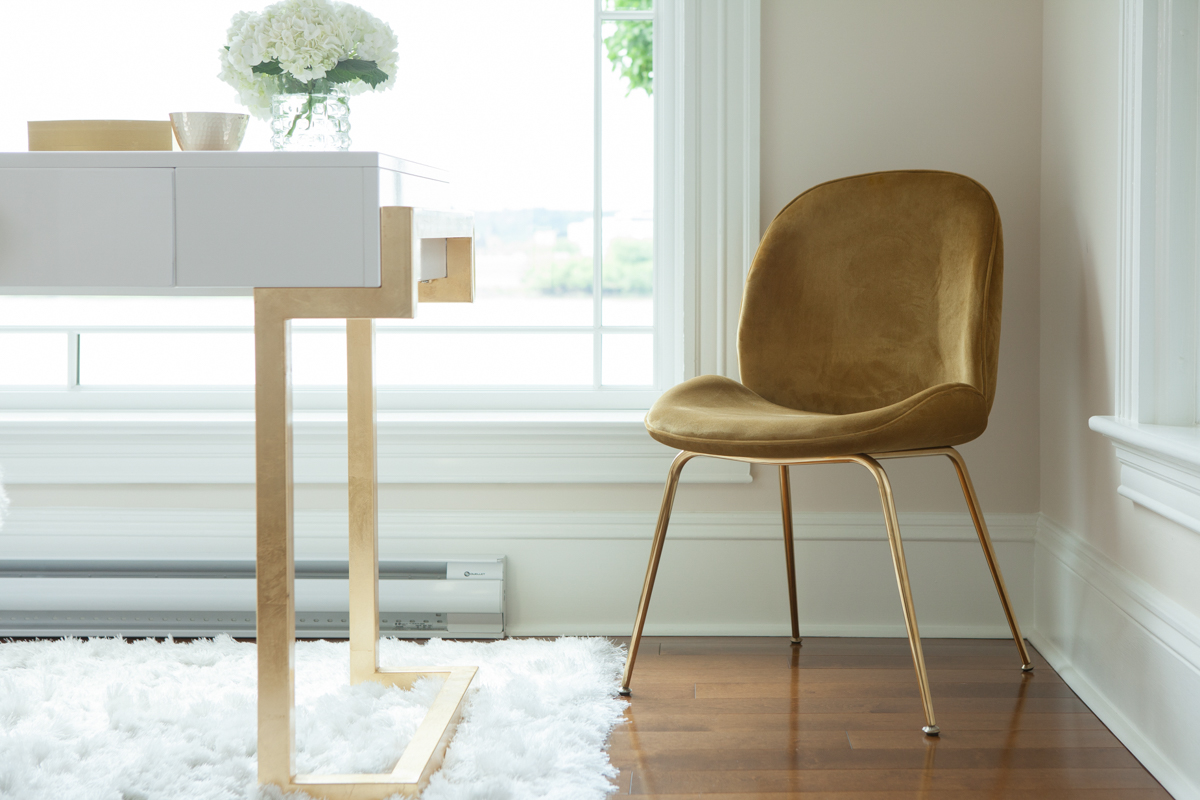
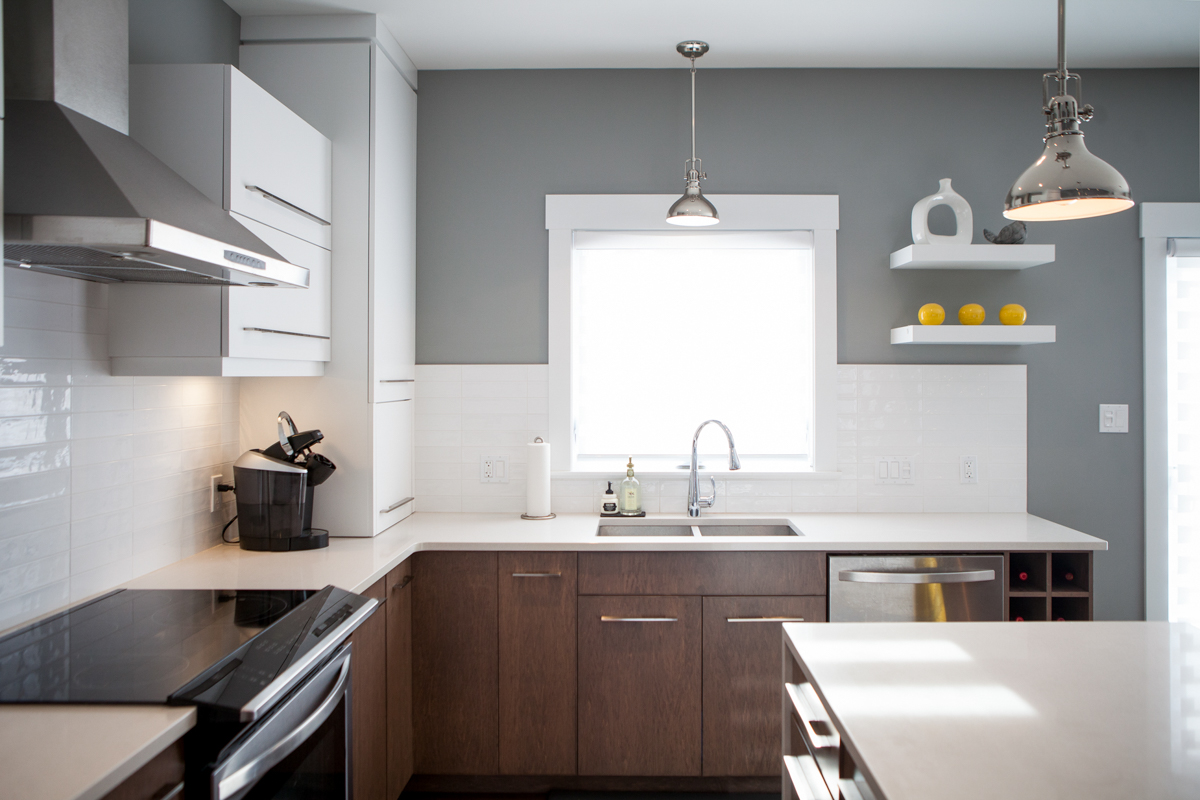
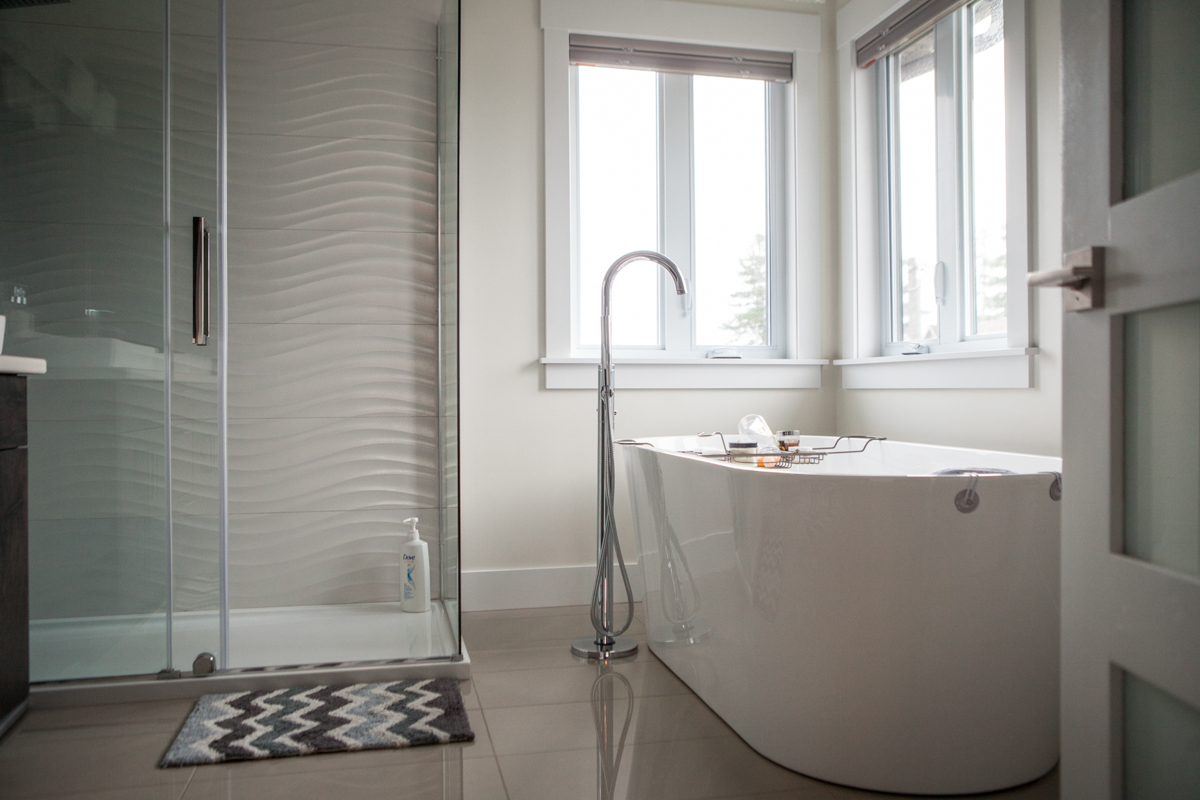
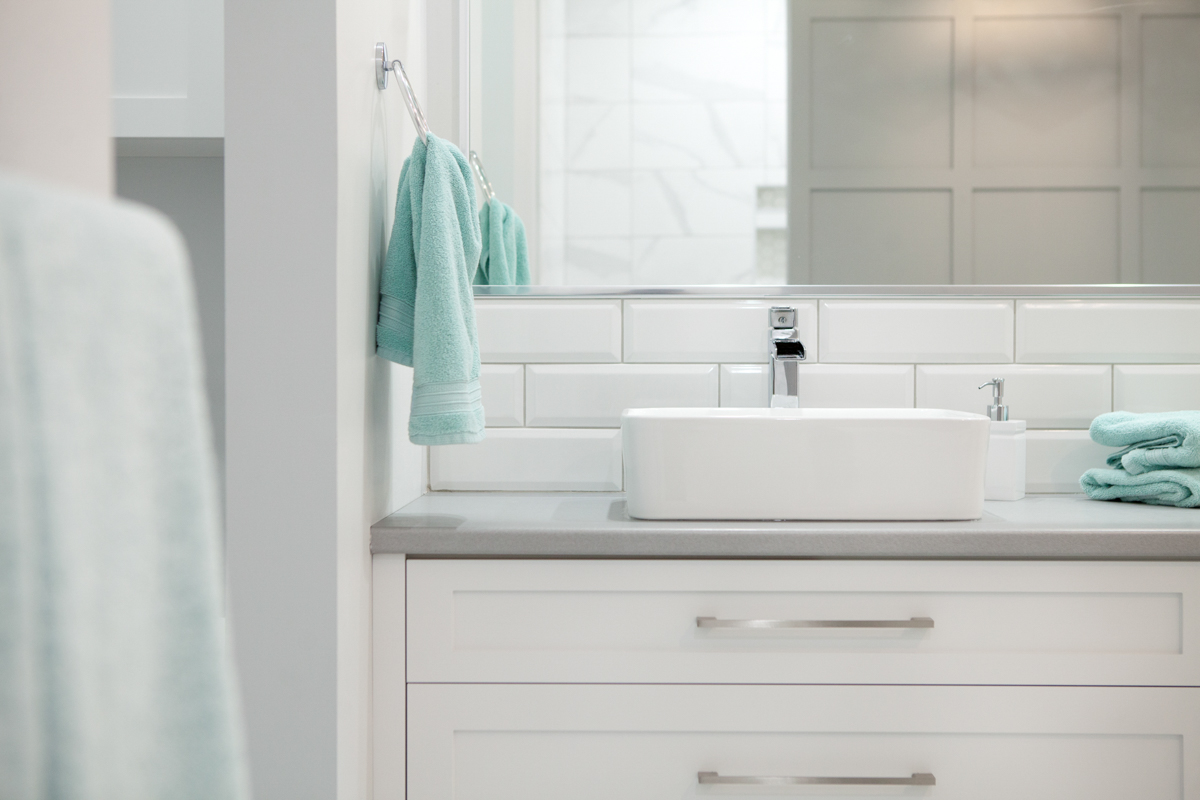
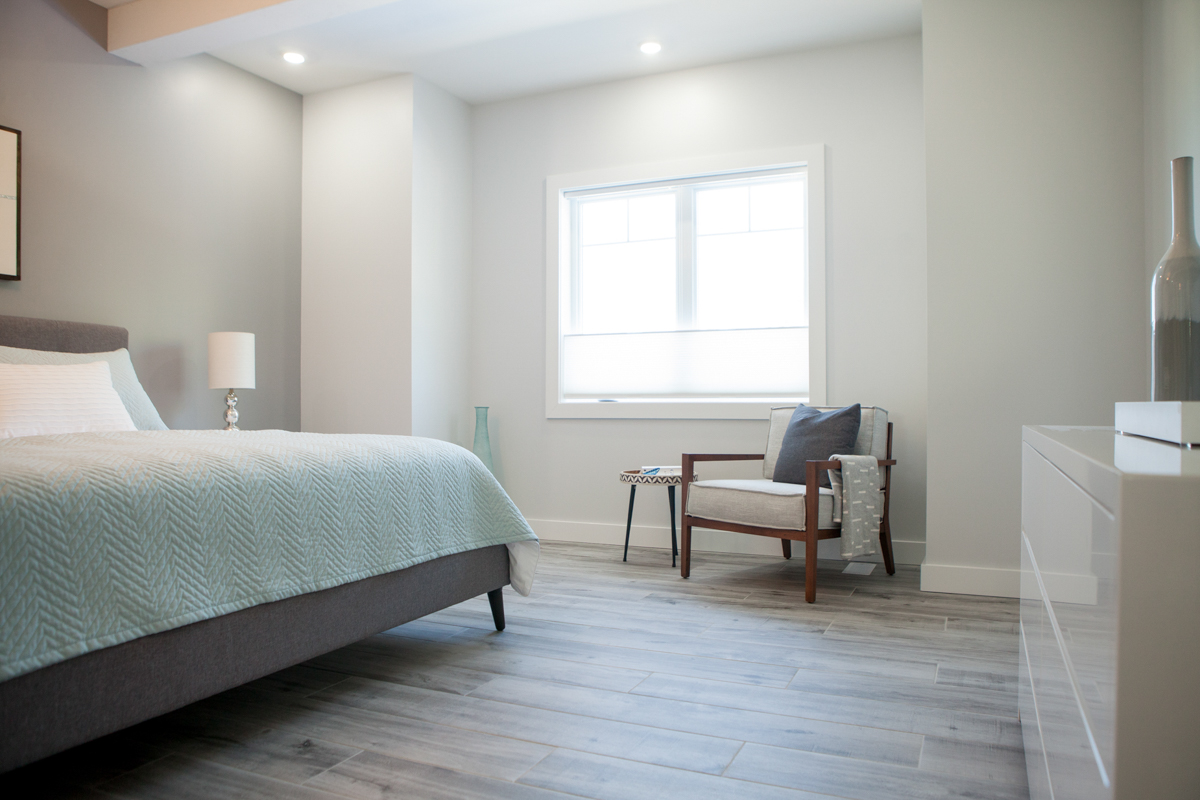
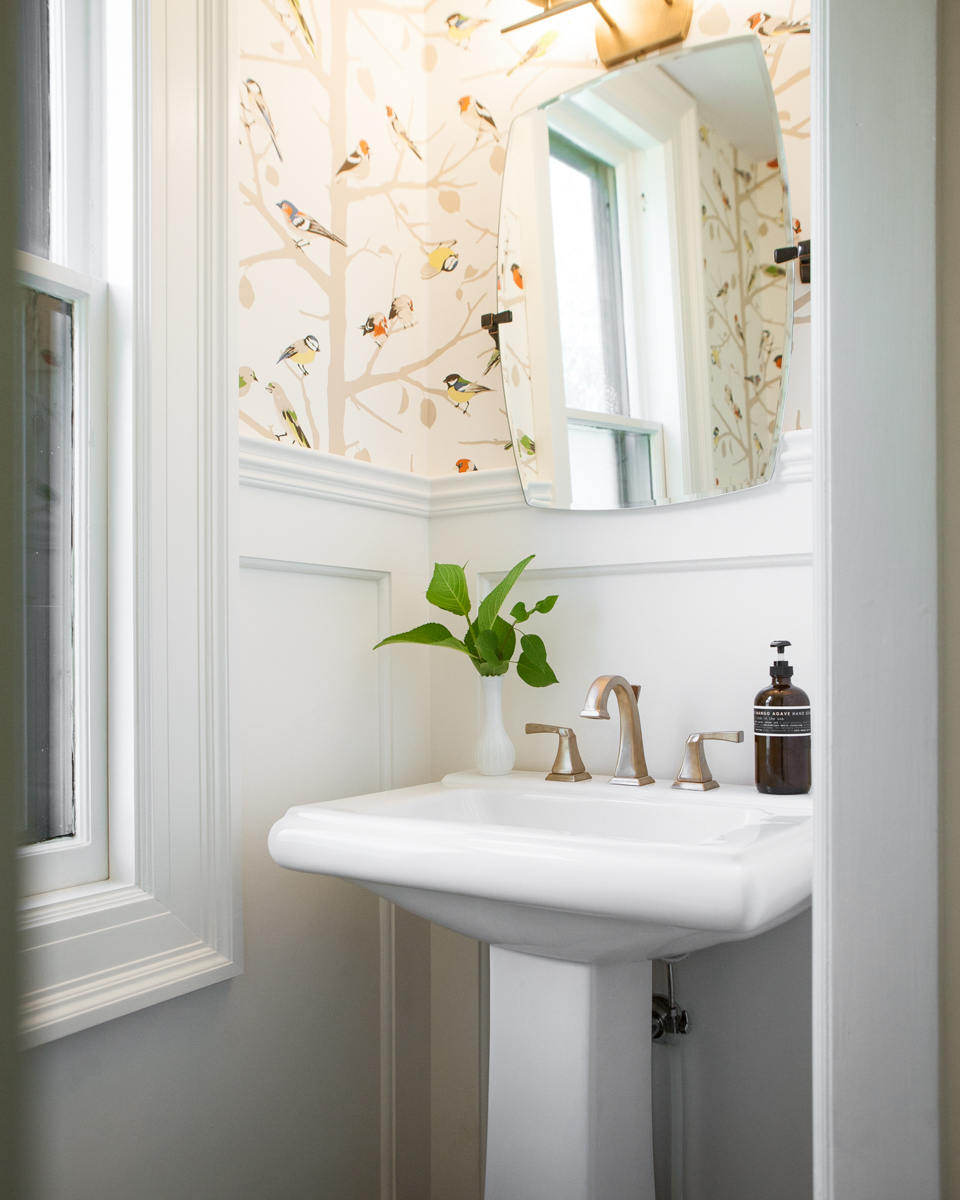
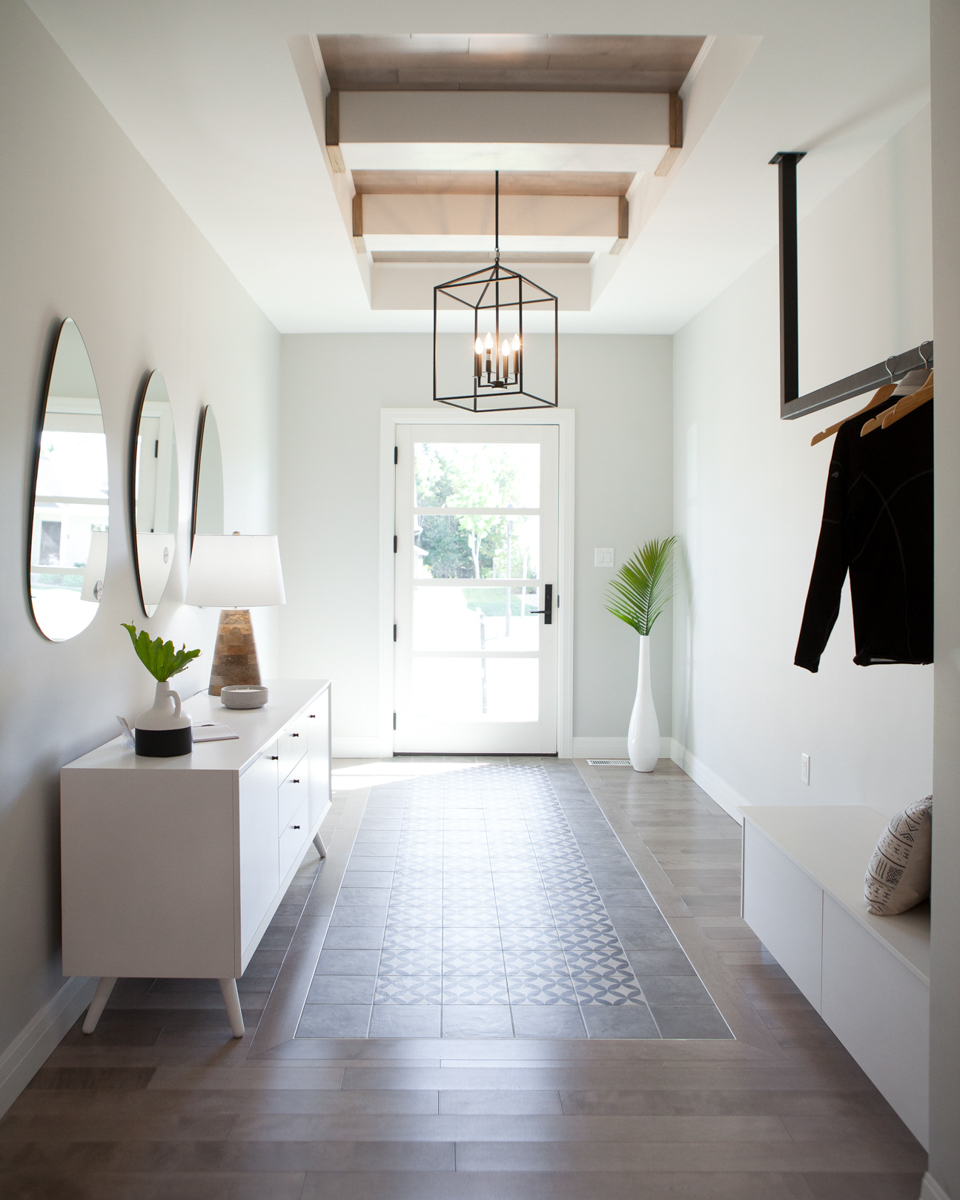
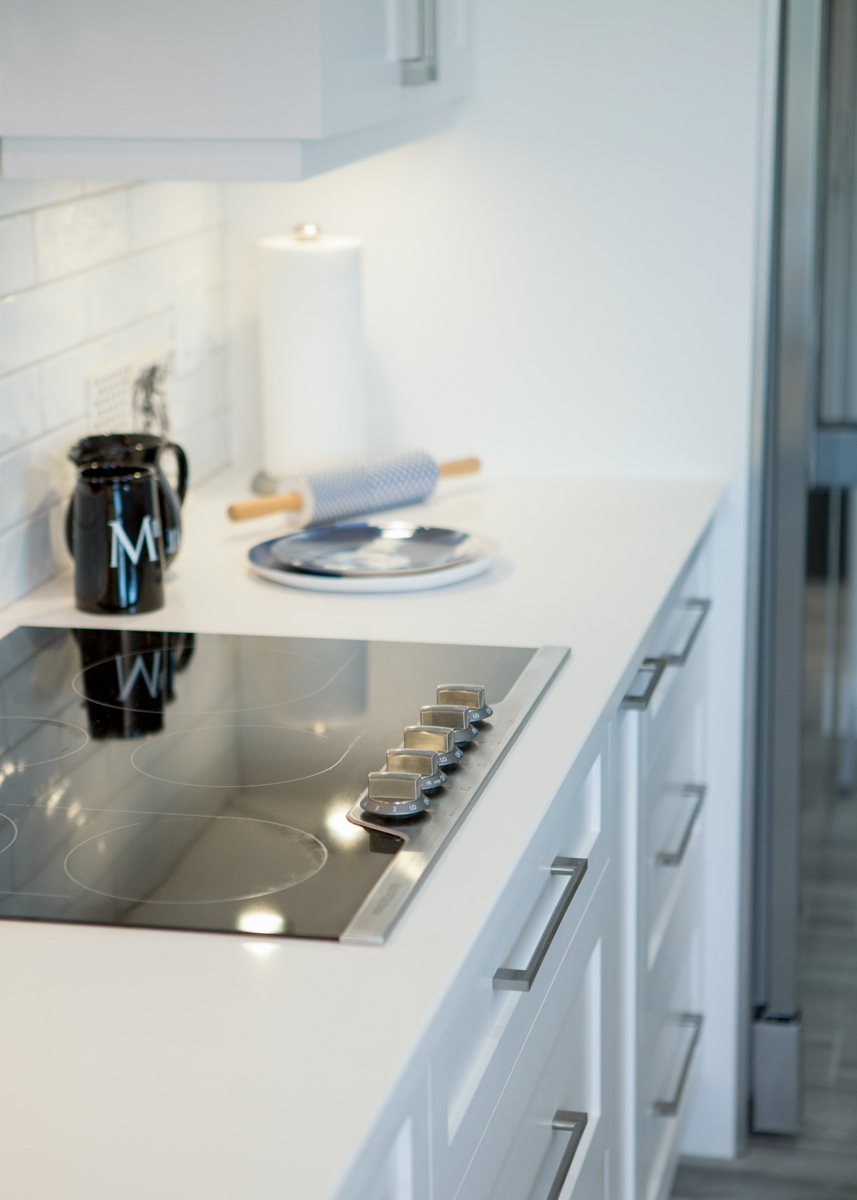
Bringing attention to the right places:
Most home and interior styled shots are very bright and beautiful, which is great because that’s what you want to see; but it can make you get a little overwhelmed all-in-all. With all of the natural light and white covered walls and counters it can be easy for an image to become washed out and over-exposed, causing the details of what really makes the place so special to get lost in the process. Our eyes are drawn to light, and it makes a home look welcoming, large, and clean; so it’s my job to balance the light in the image to make sure that you can see all of the fine details in that white light. Are the counters tiled with any special markings? Are the light fixtures finely designed pieces of art? Are the ceilings textured? These are all things you want to be able to see without losing the brightness, all of which you would be able to see with the naked eye. People don’t always realize that our eyes are finely tuned instruments, cameras can’t do what our eyes can, they’re only instruments of art imitating nature and will never be as good as the real thing. It’s my job as an editor to take the images that Chris takes and make them feel as though you were really in the room when you look at them.
Bang-On Photography - New View Designs
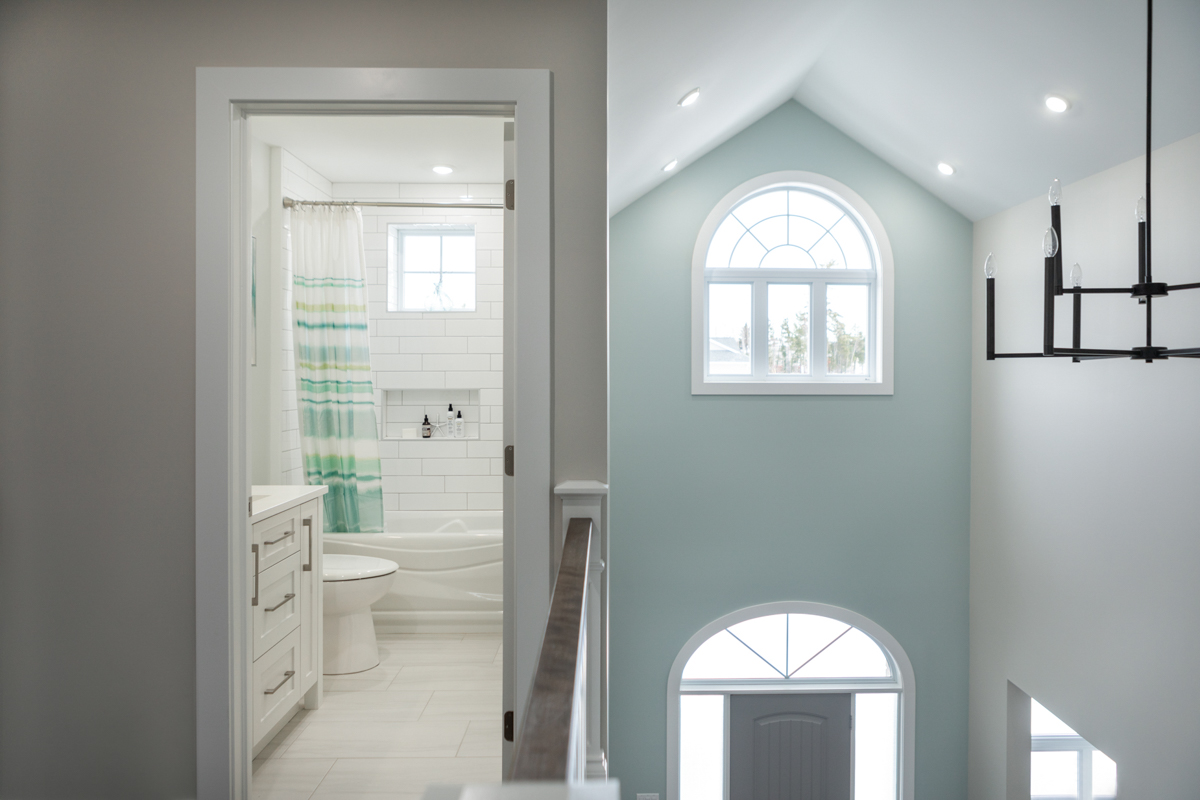
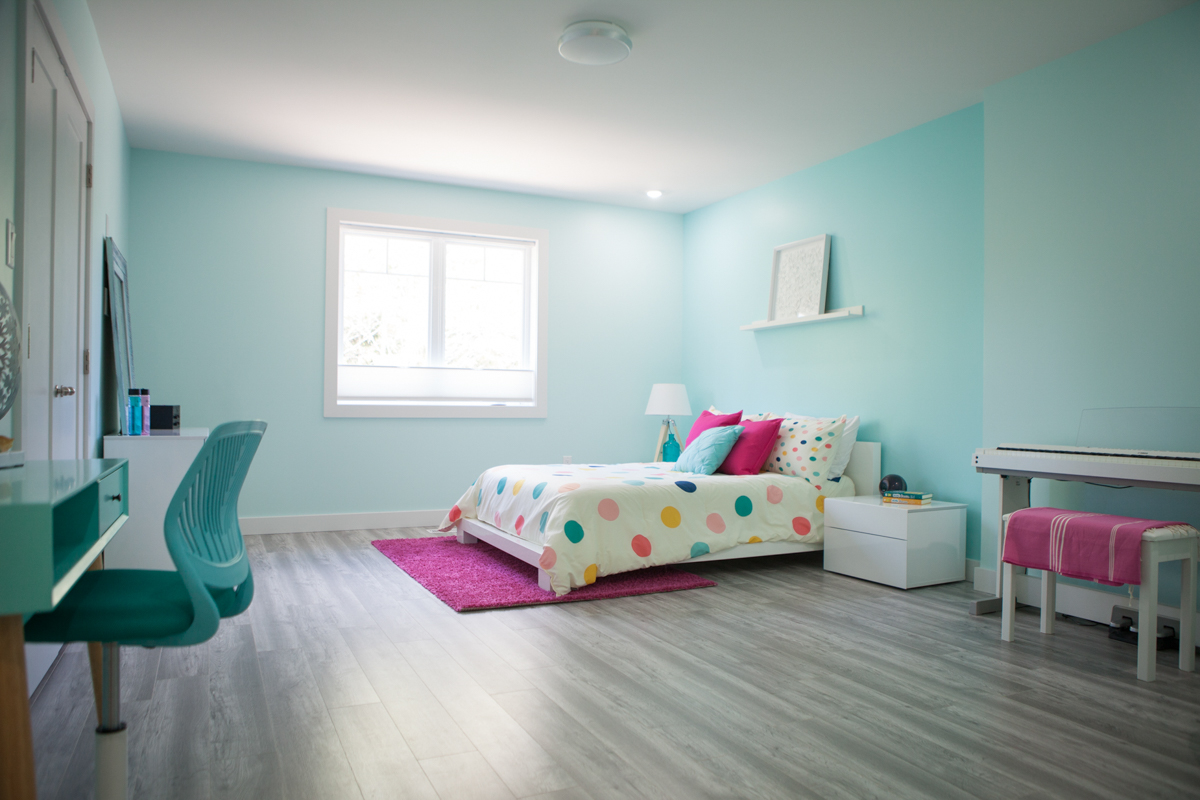
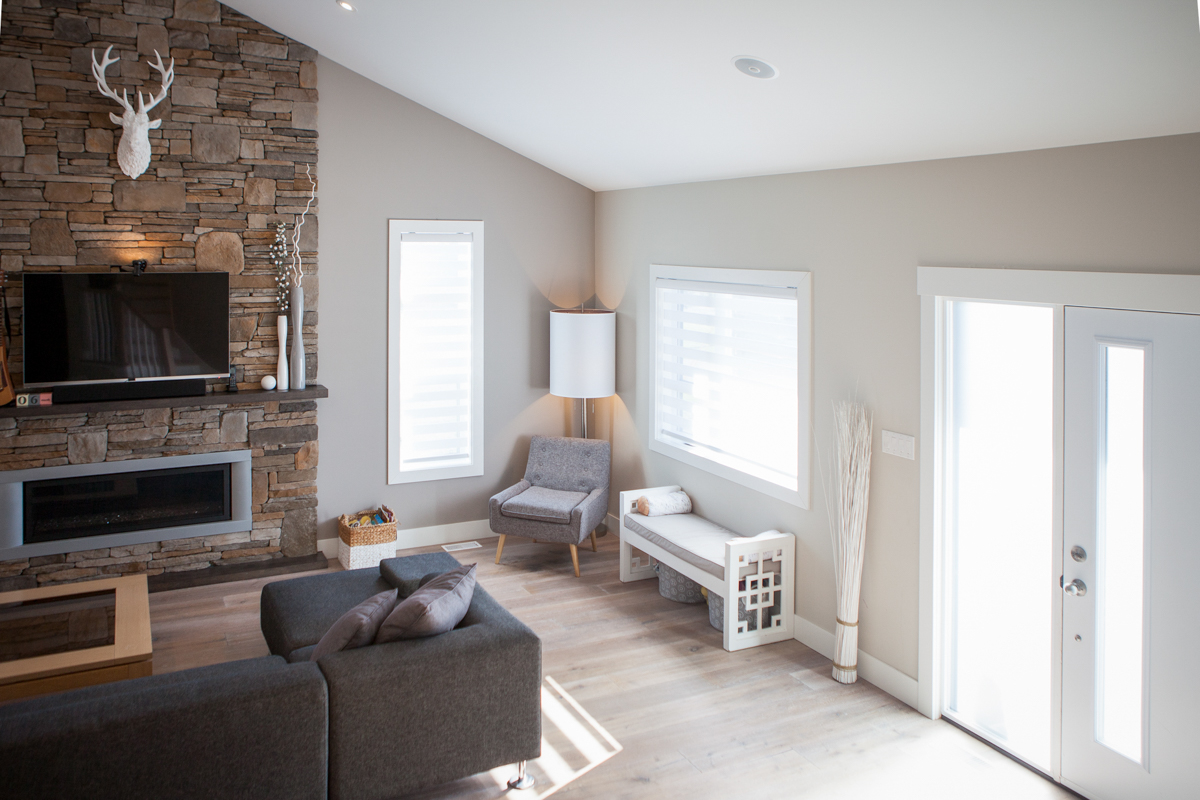
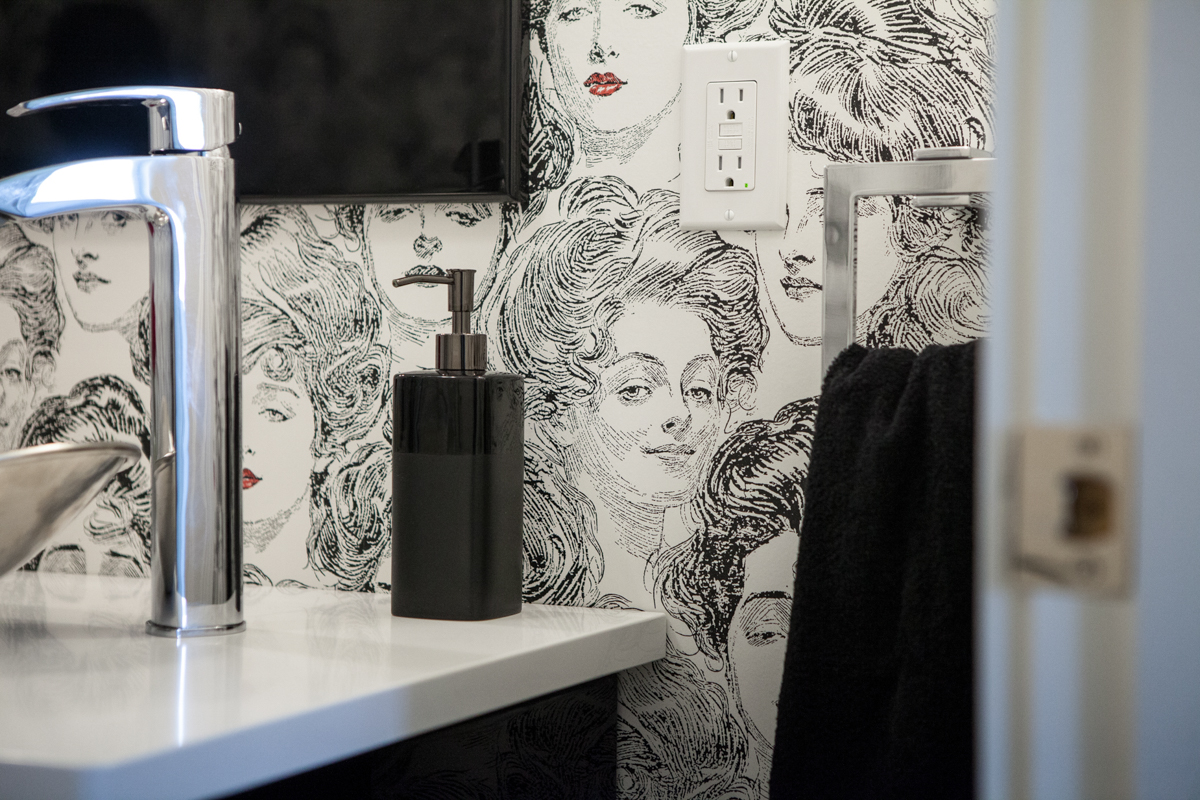
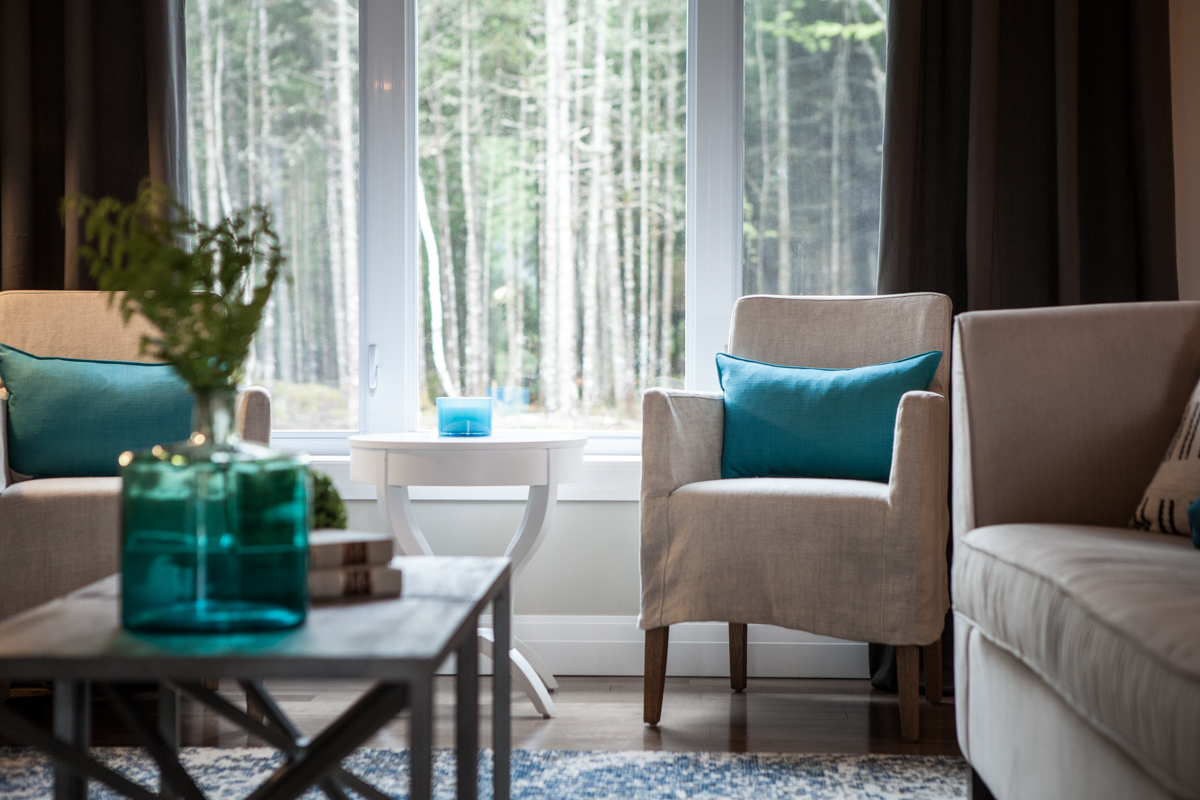
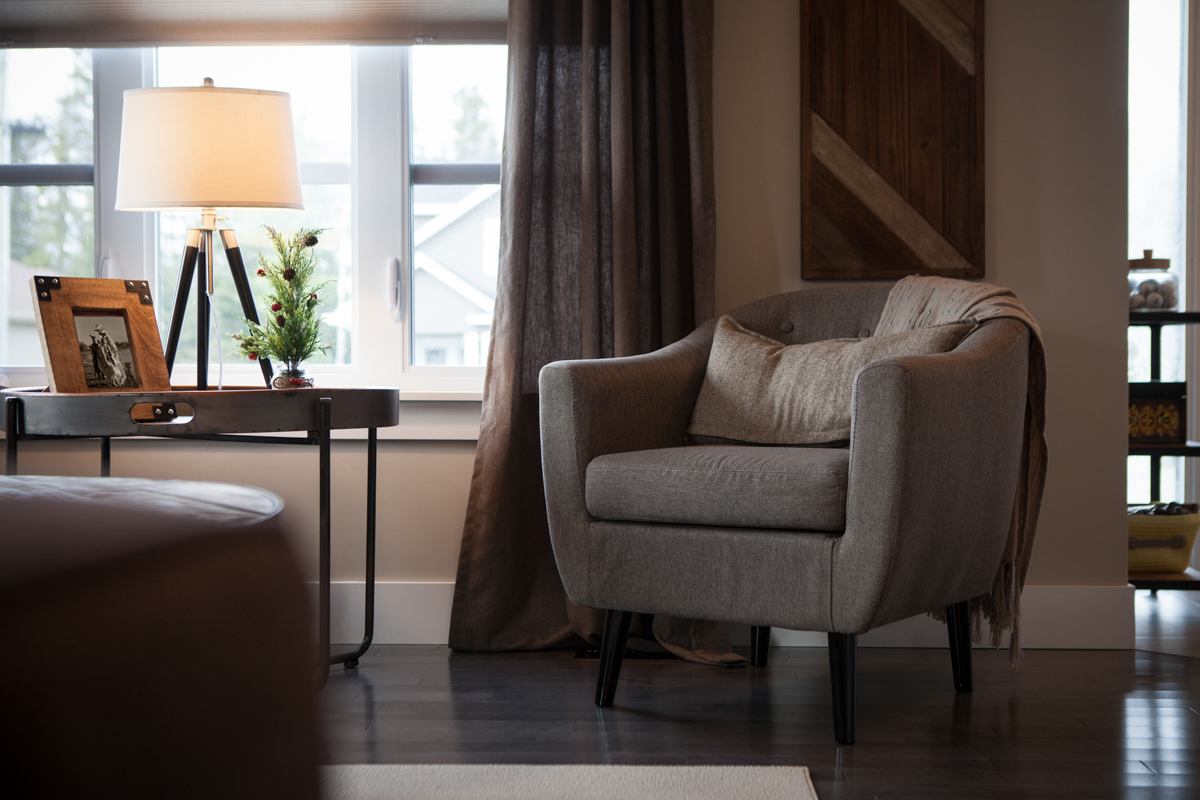
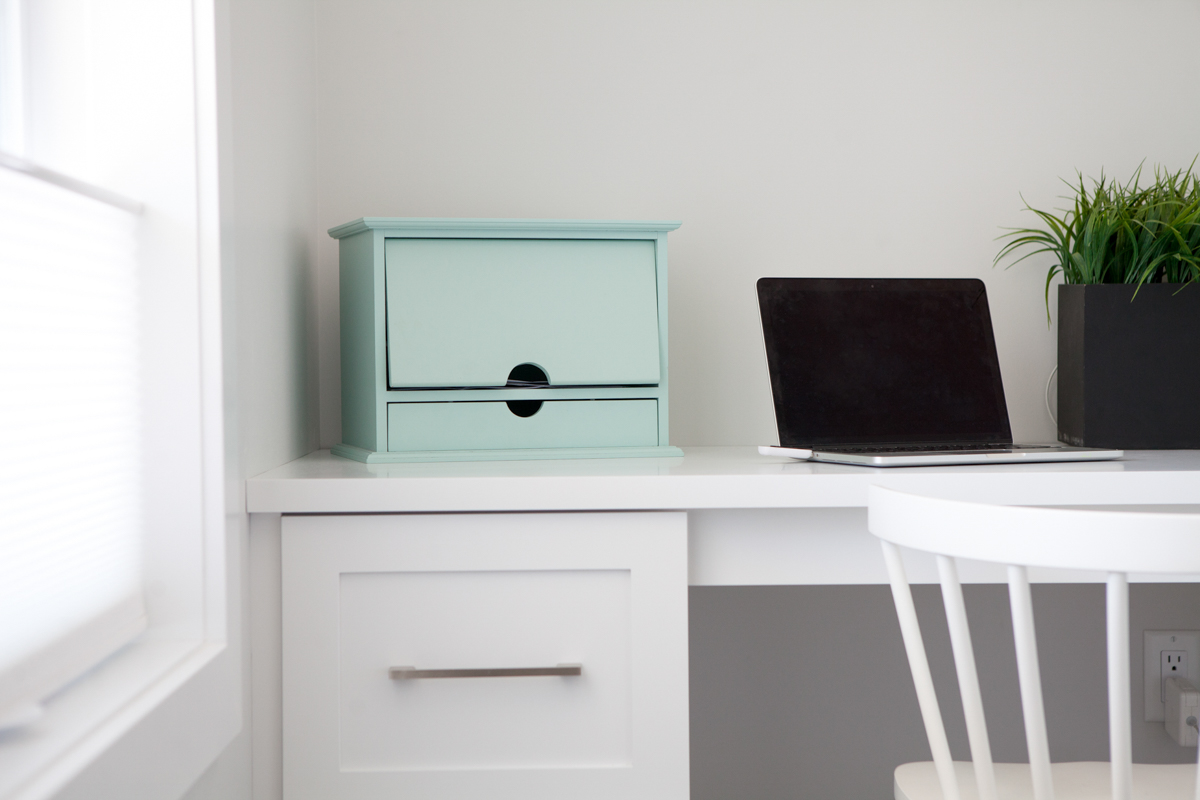
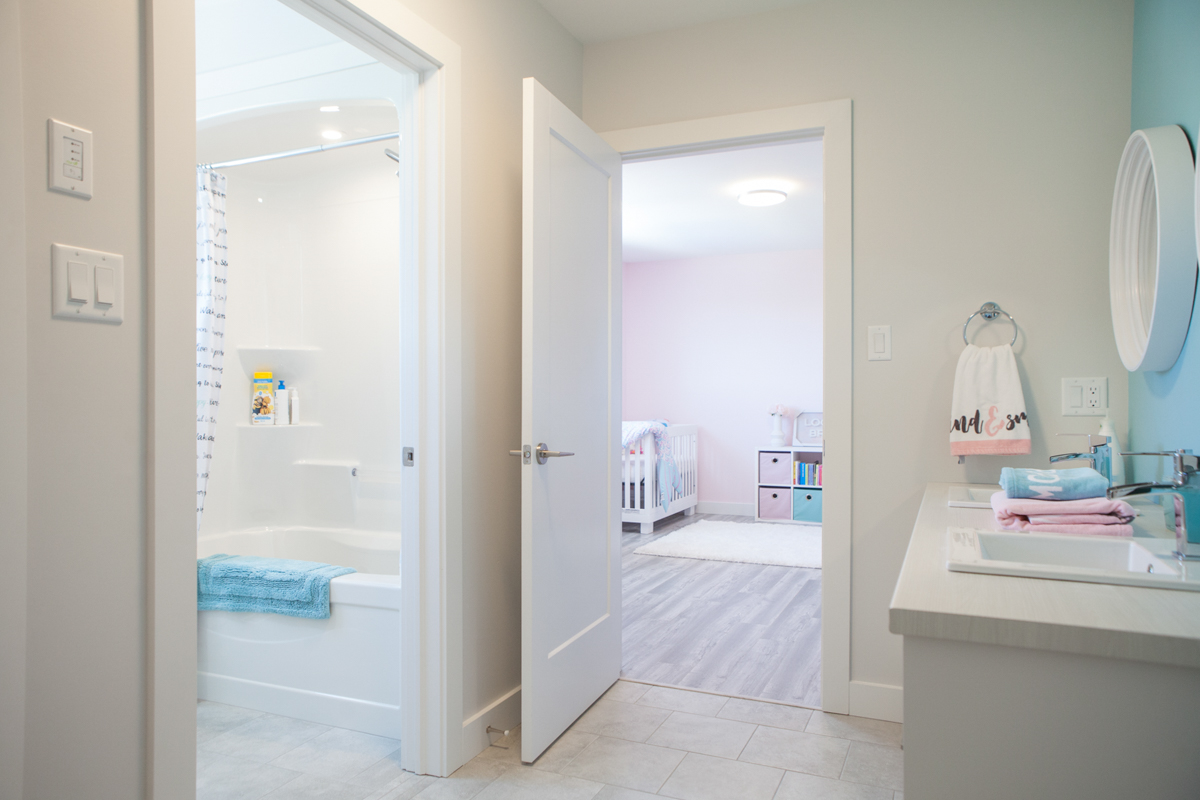
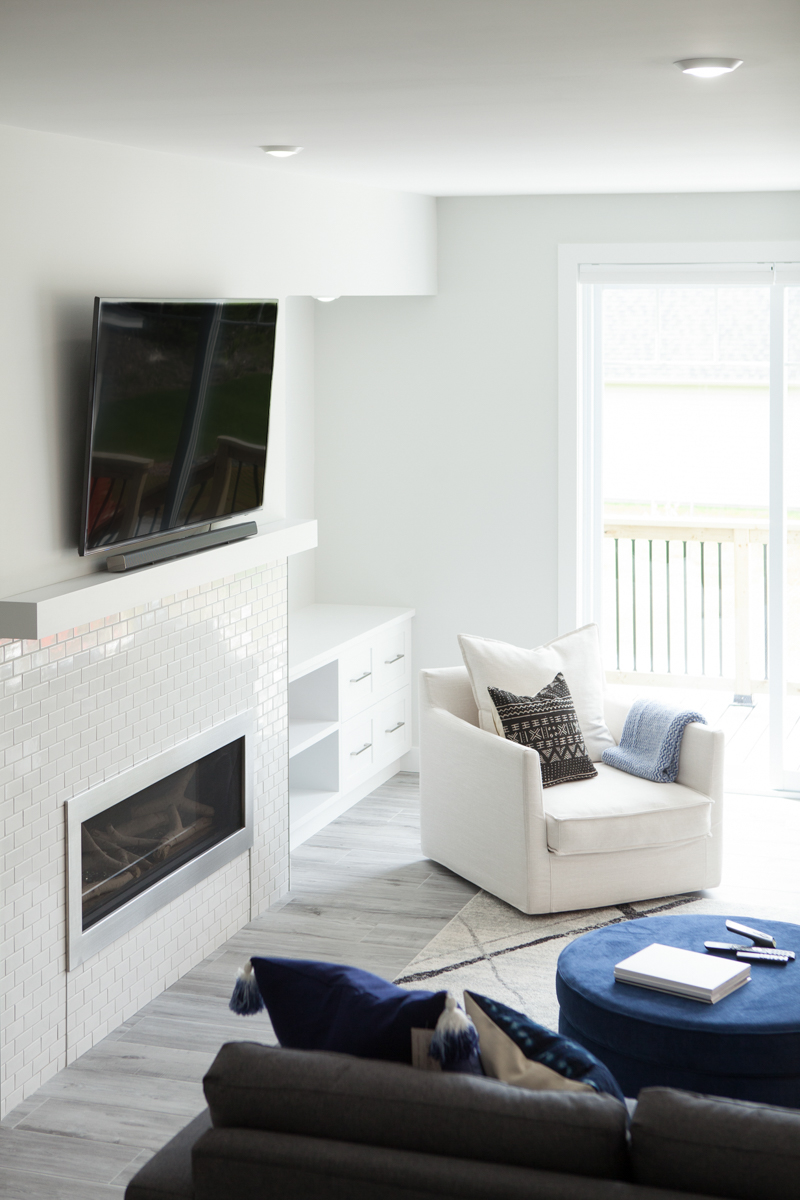
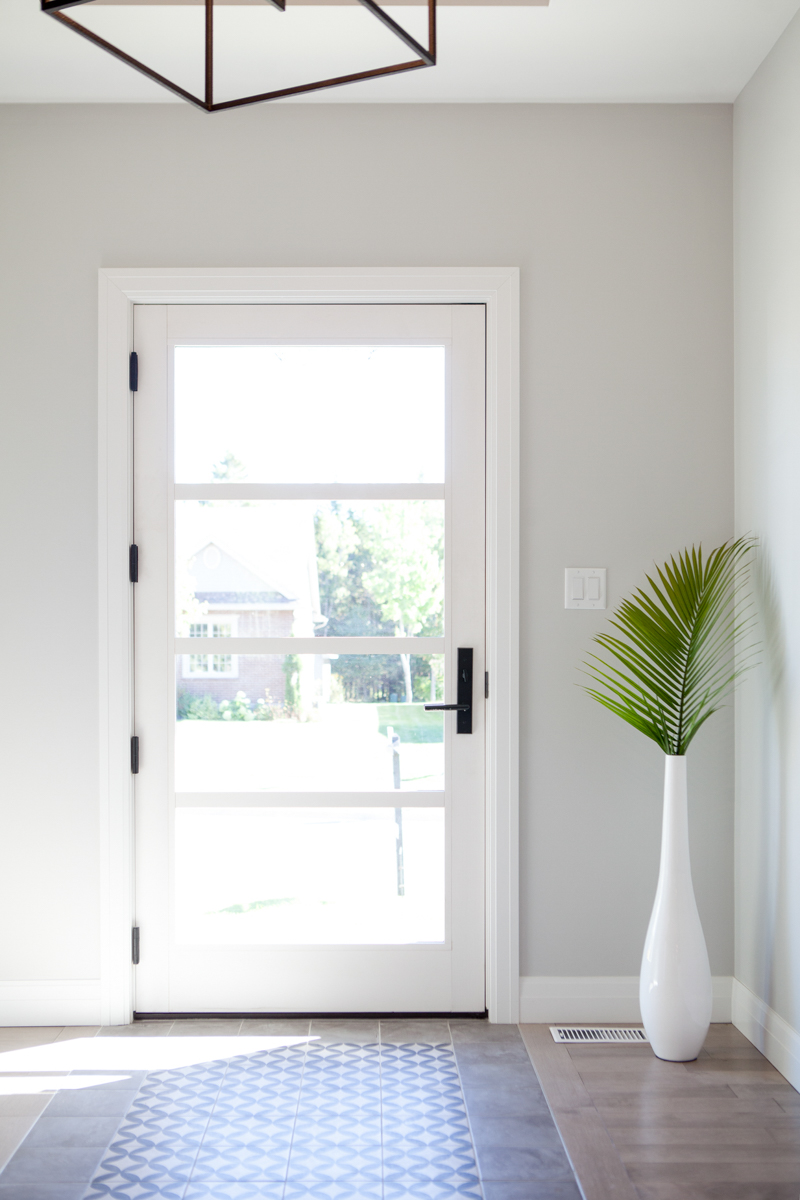
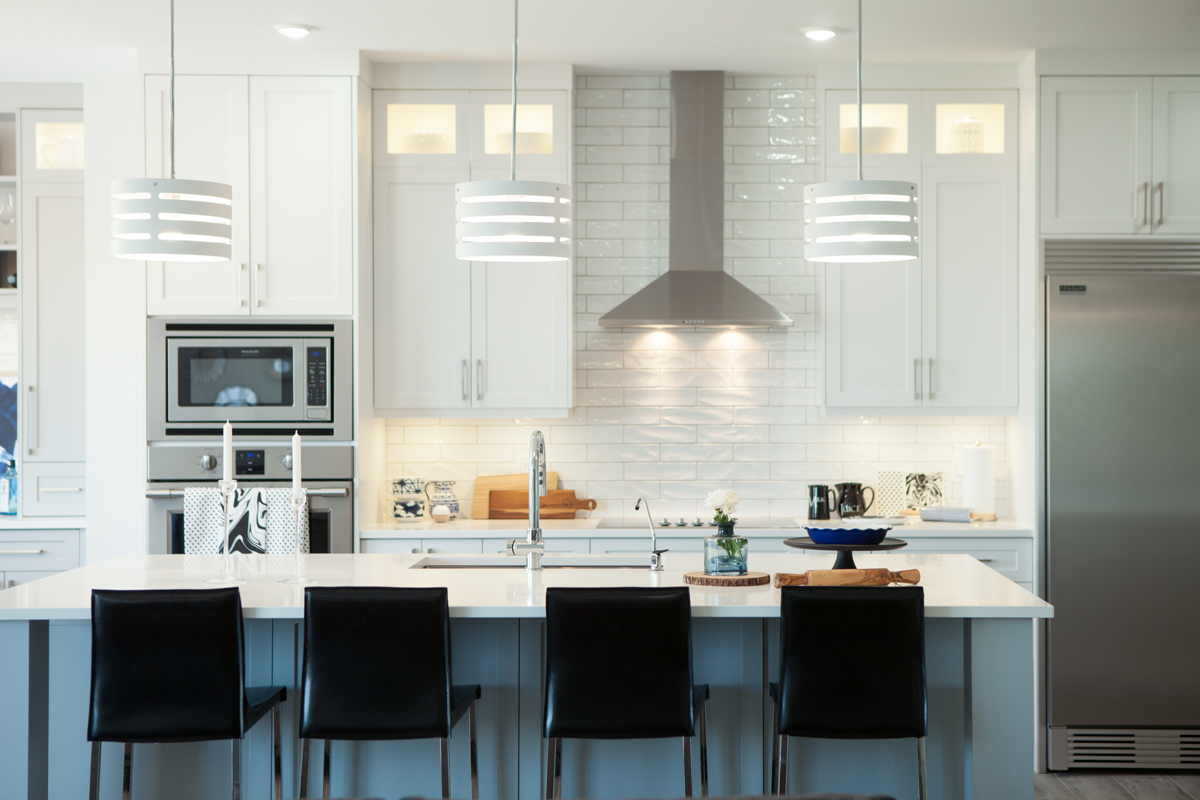
Mixed Lighting:
This part is always a pain, but it happens in pretty much any images taken inside any building with windows ever! Natural light of course is the preferred course of action for any image, but again, our eyes see more then the camera so we have to make due. Sometimes you need to turn on the lights to get the shot you’re going for, and in these situations you need to know how to correct your images to balance out any mixed lighting. There’s nothing worse than using an image where you can see through the main room into another behind it, but the main room is nicely lit with natural window light, while the back room is basically an orange glow (while in reality the walls are white). I’ve learned a few techniques to keep the image looking clean and balanced. If you’re unfamiliar with editing techniques this might go over your head but I think I've found the most success with split-toning, image blending, and spot de-saturation.
Bang-On Photography - Lori Clarke Interiors
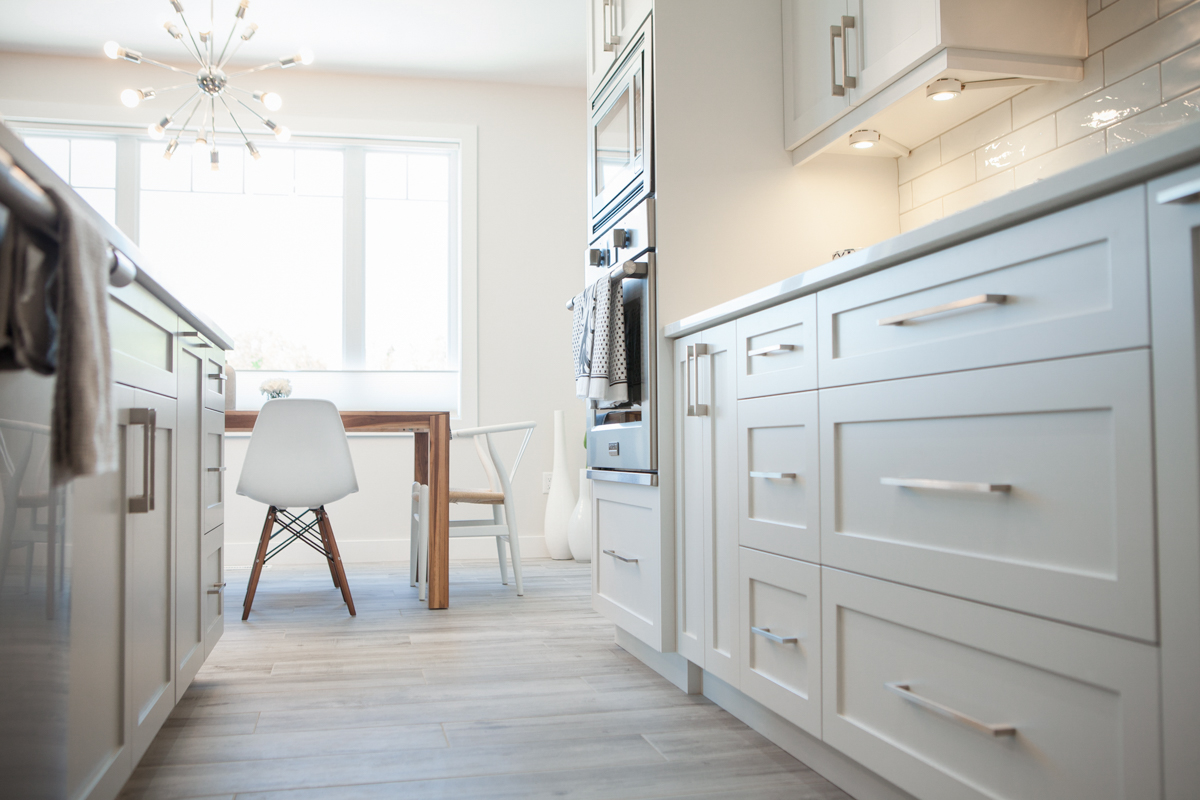
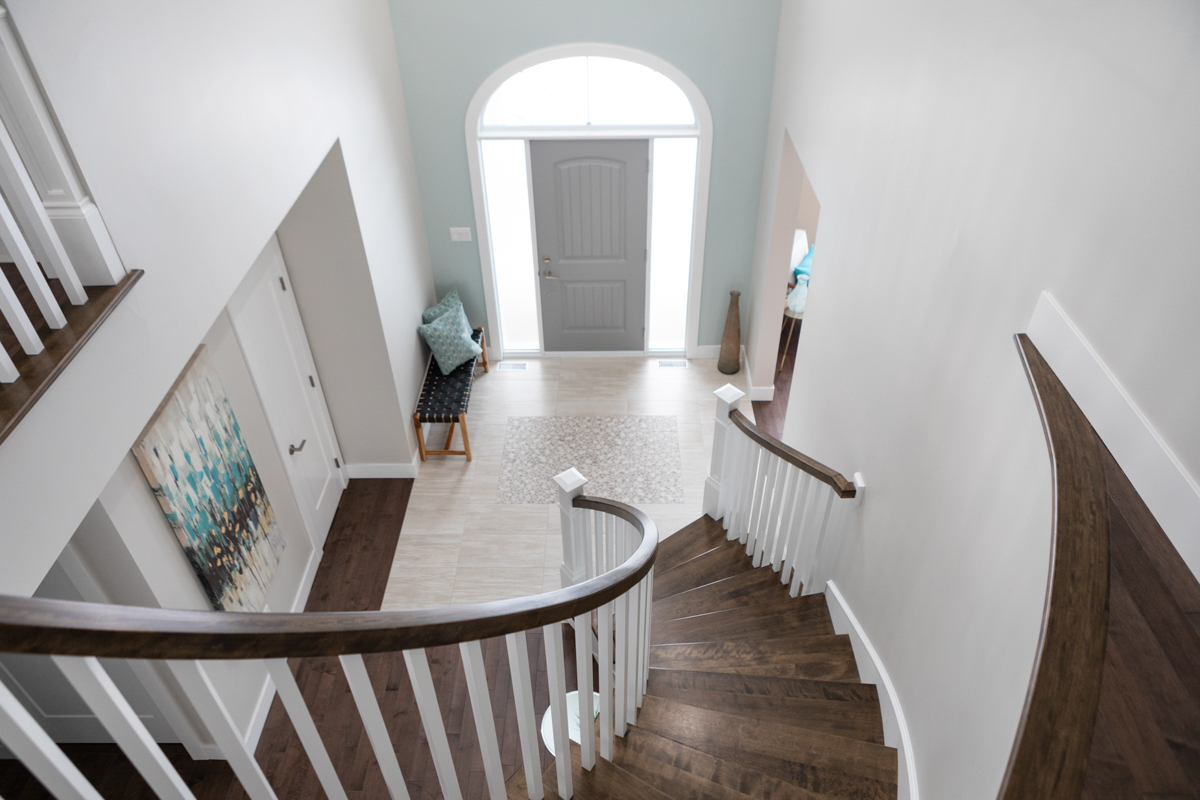
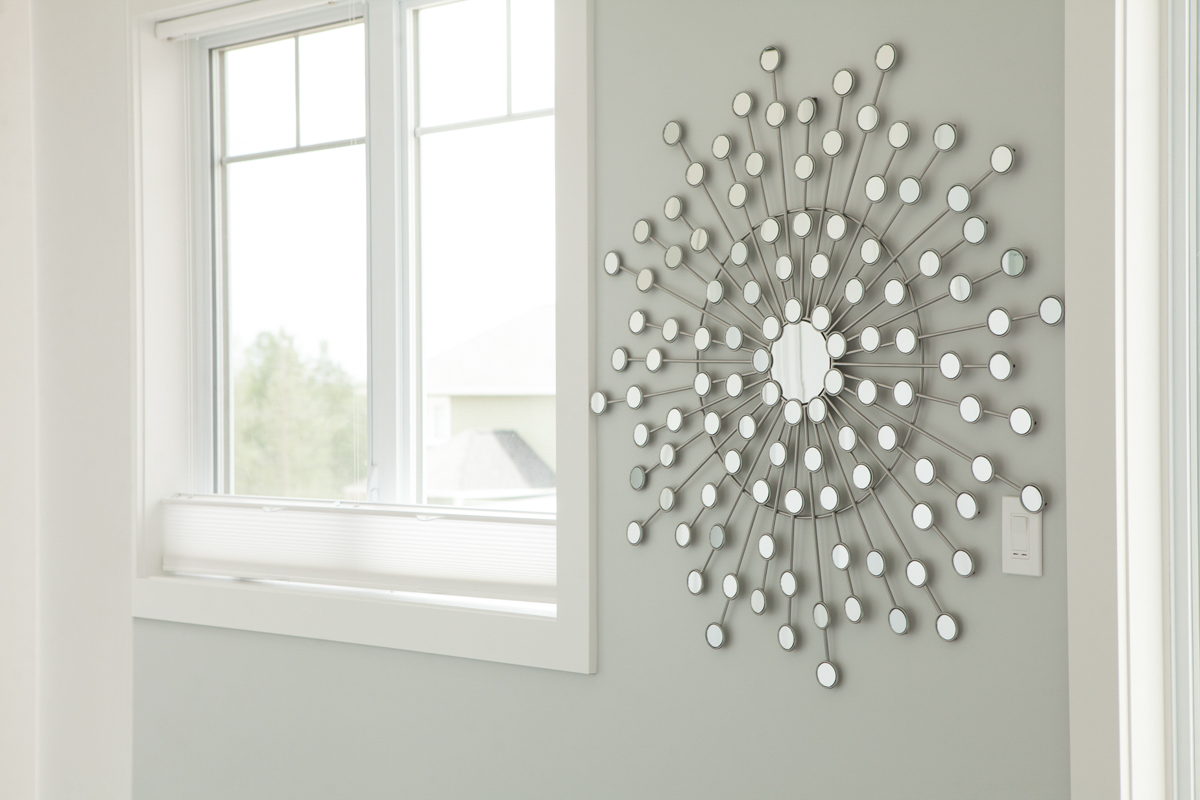
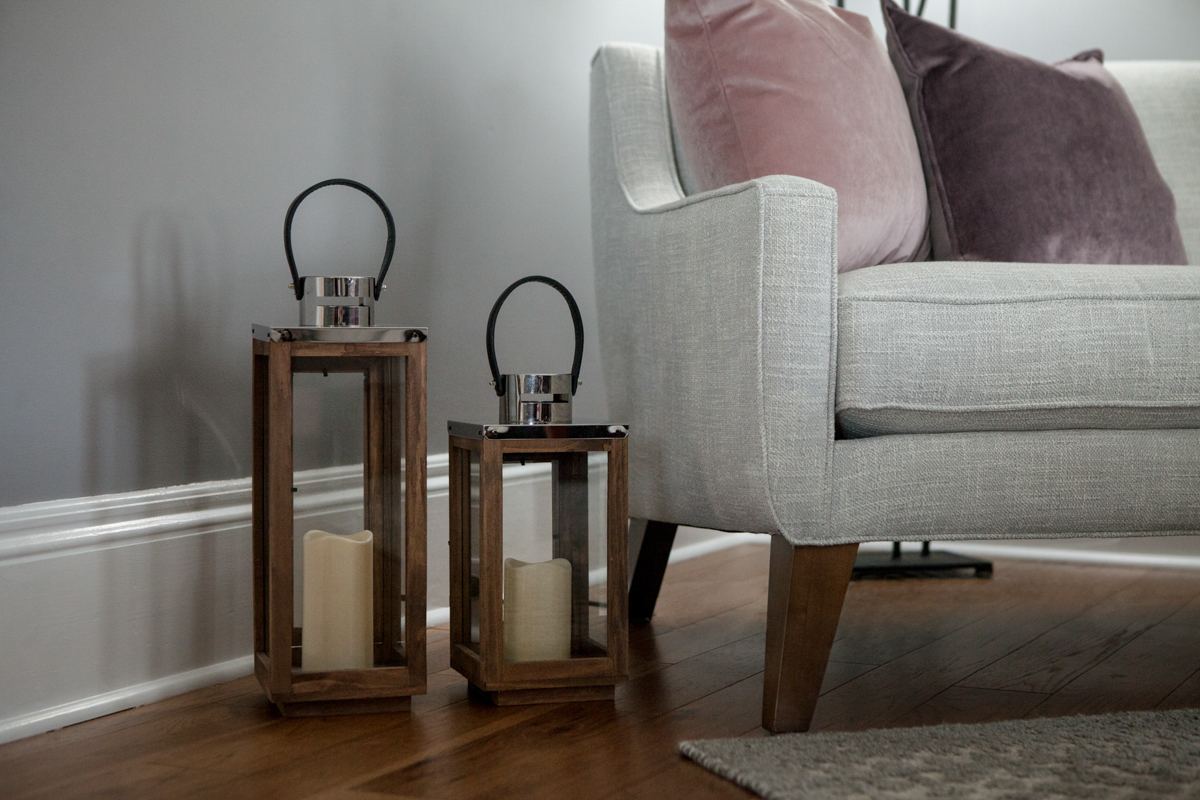
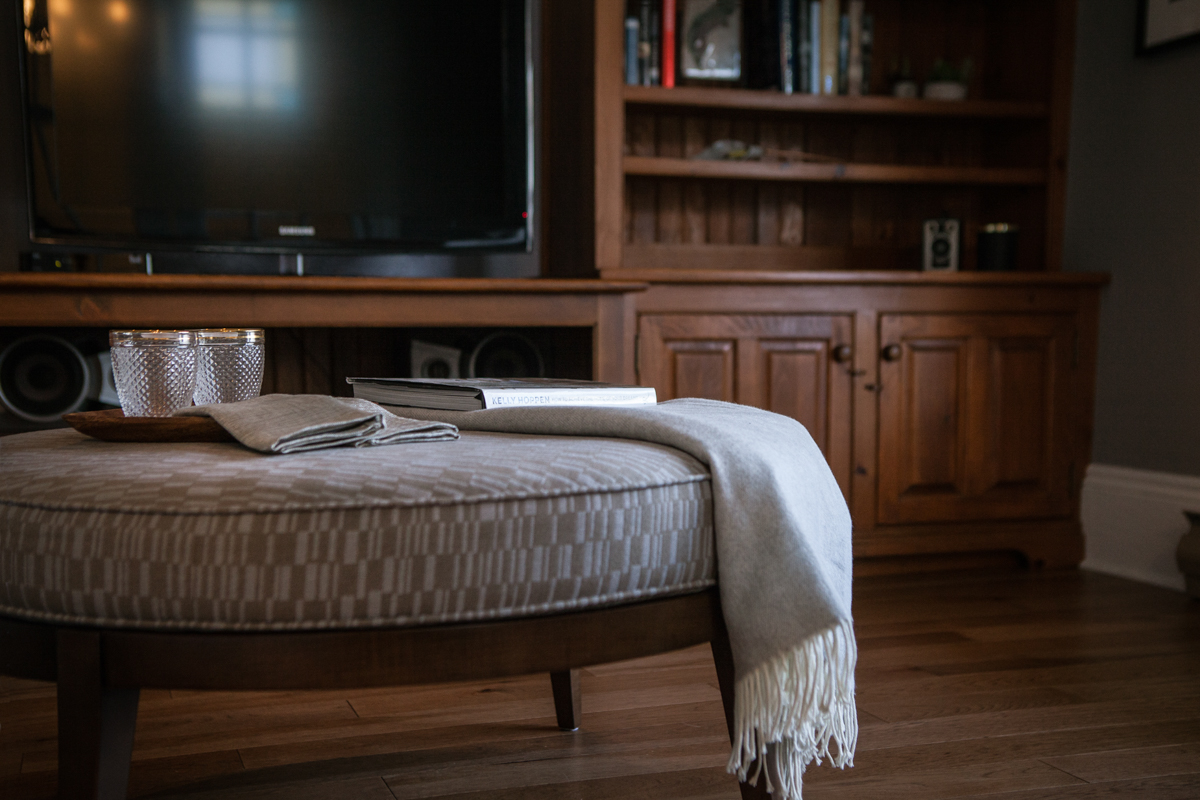
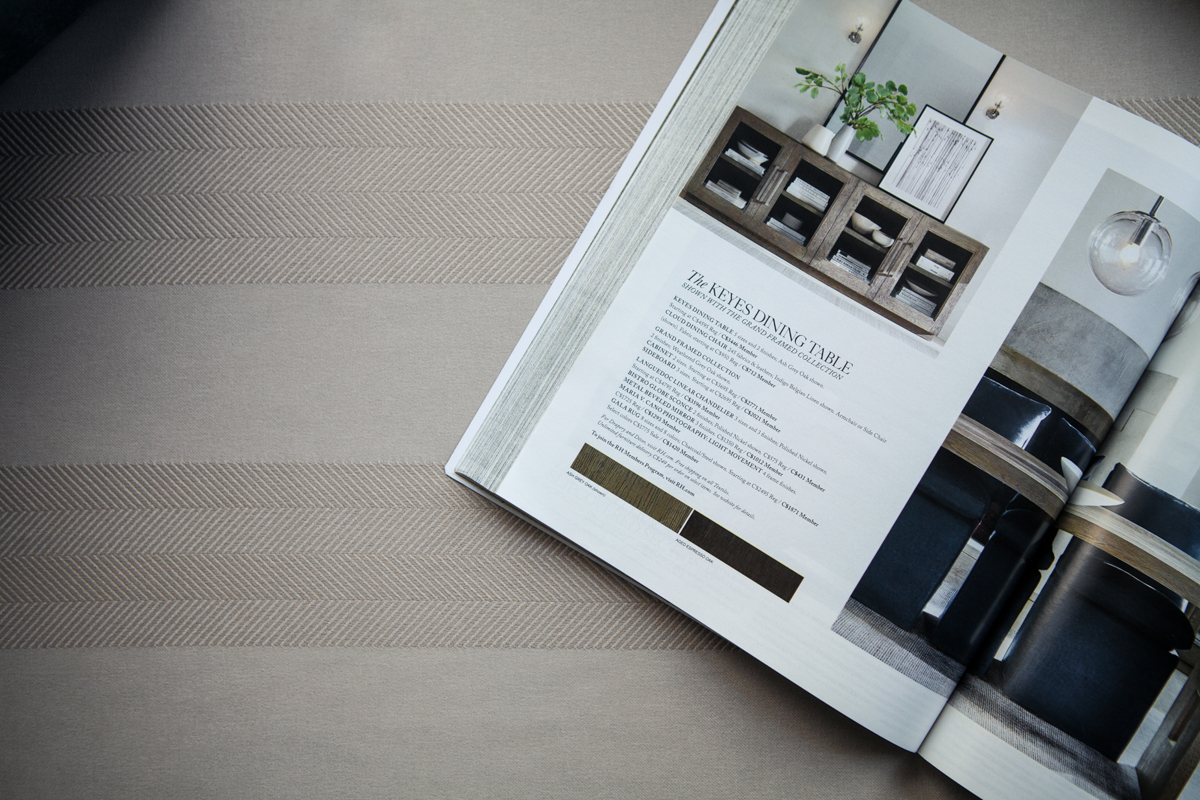
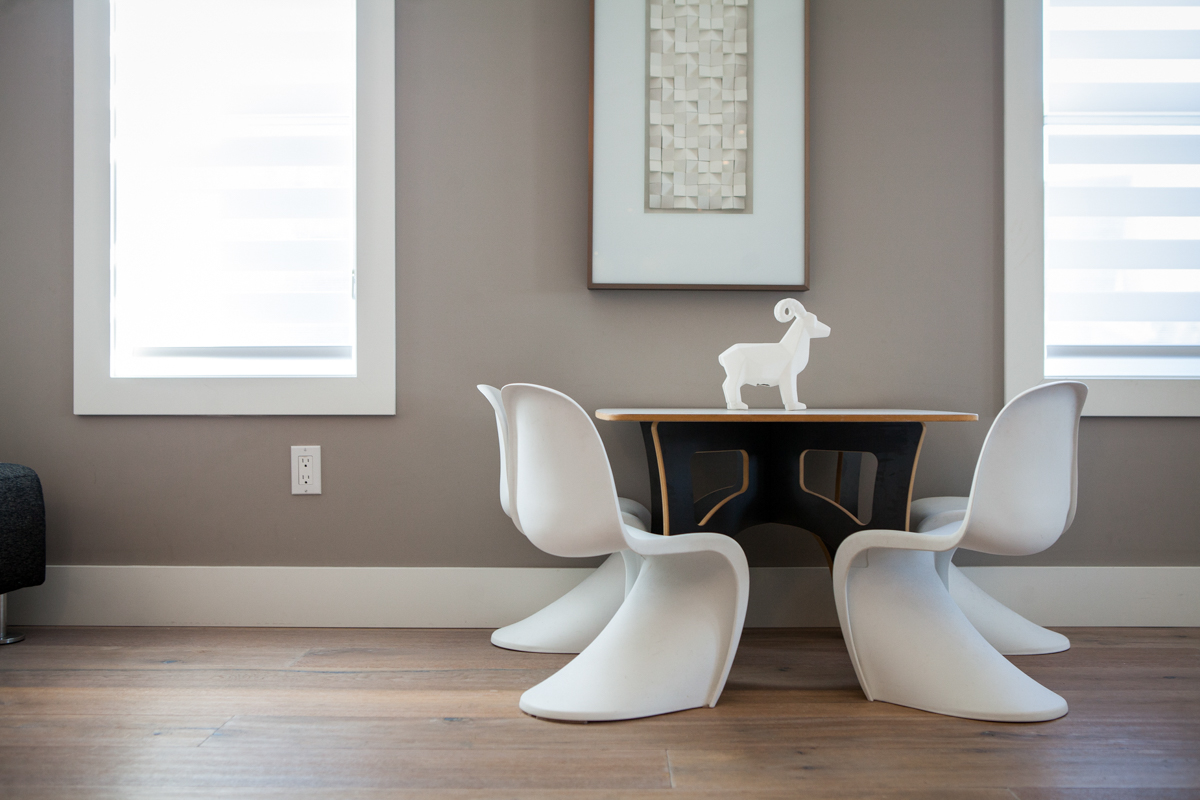
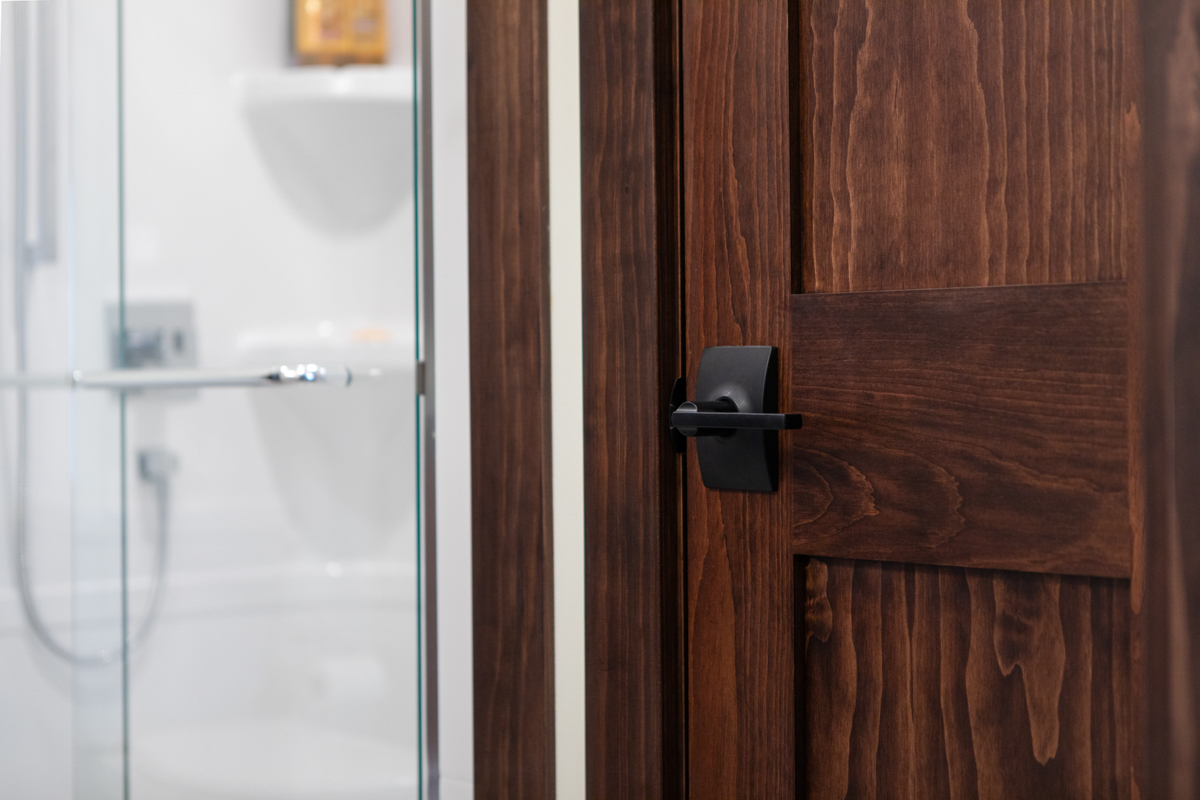
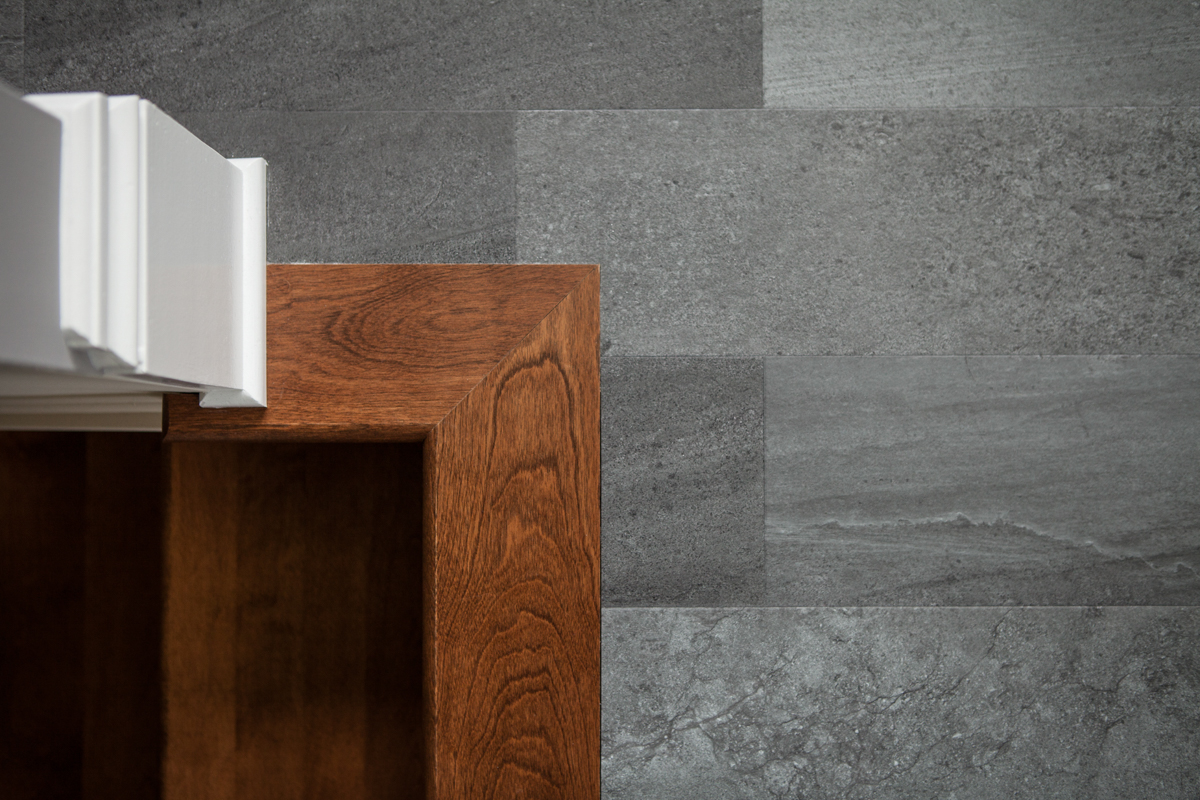
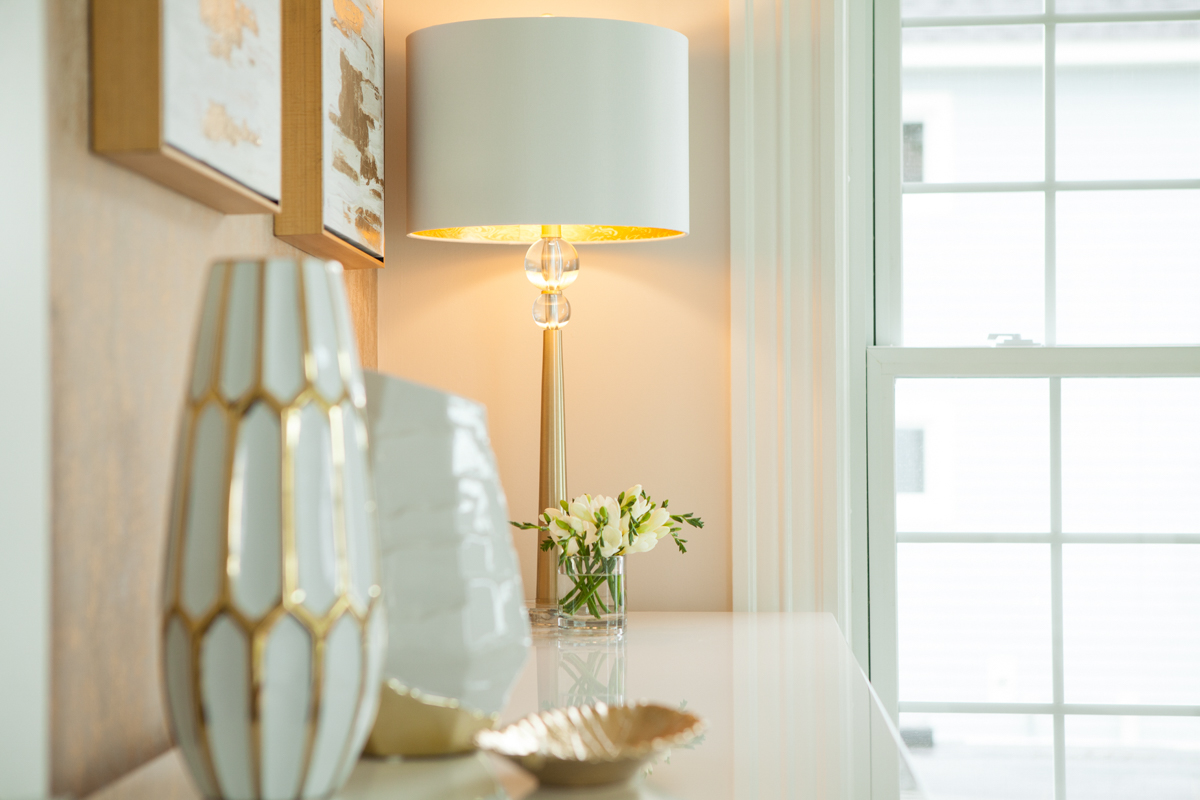
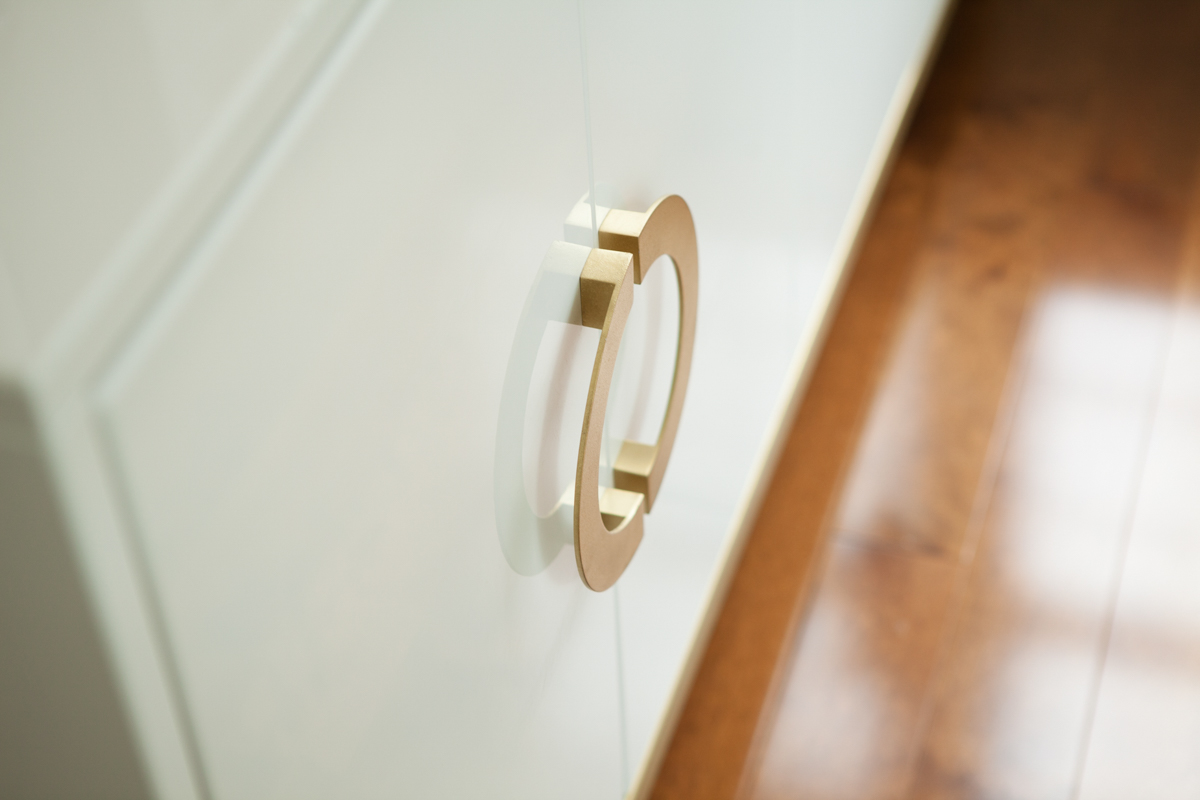
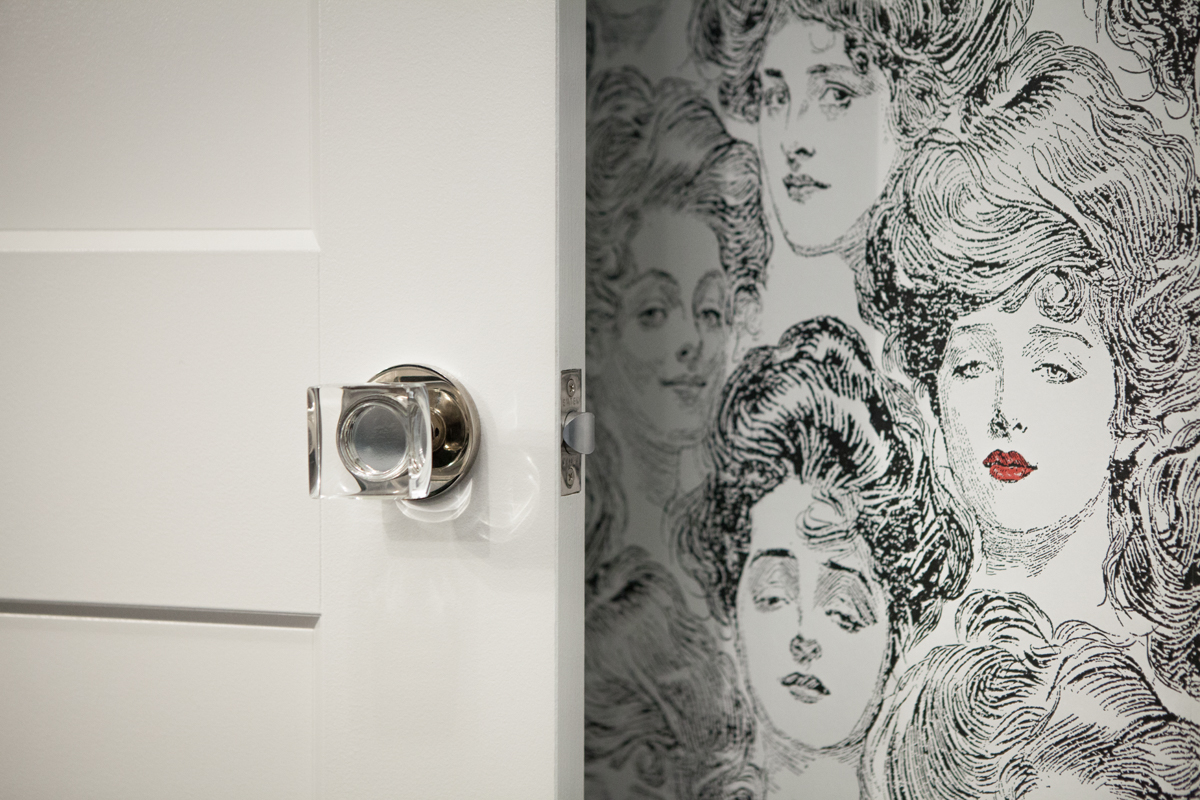
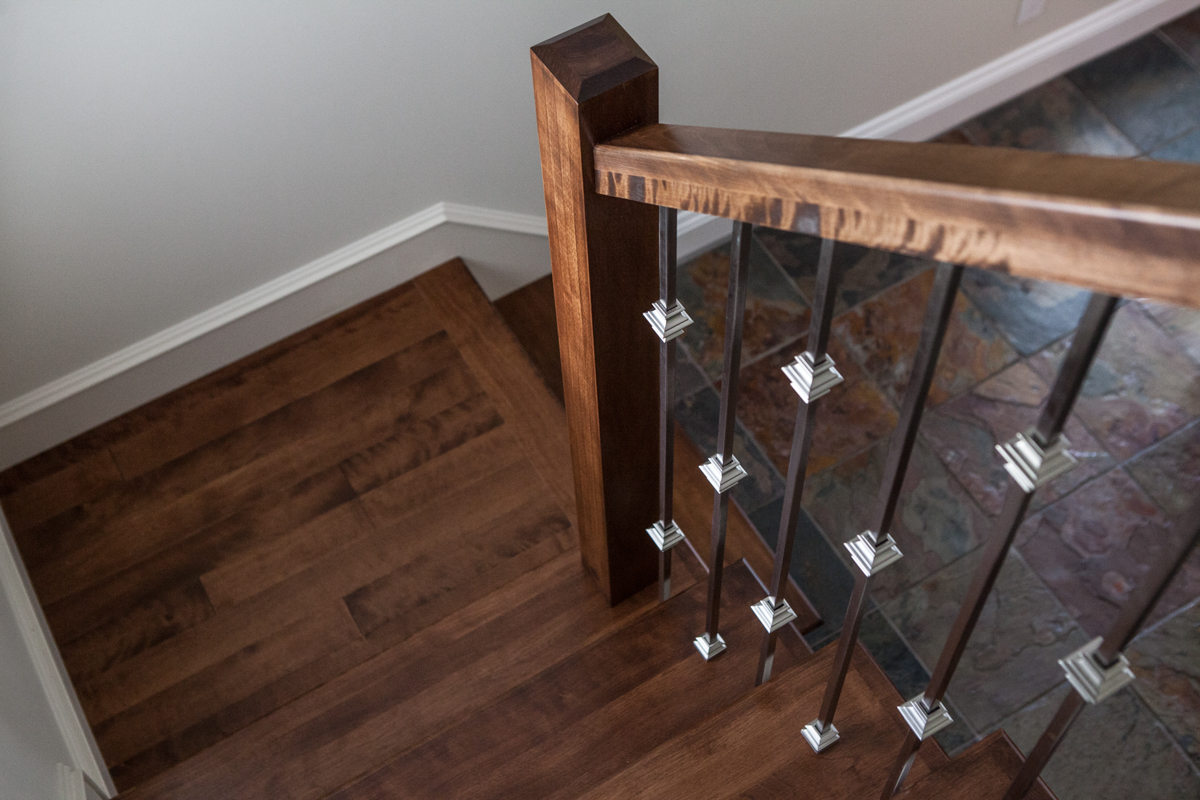
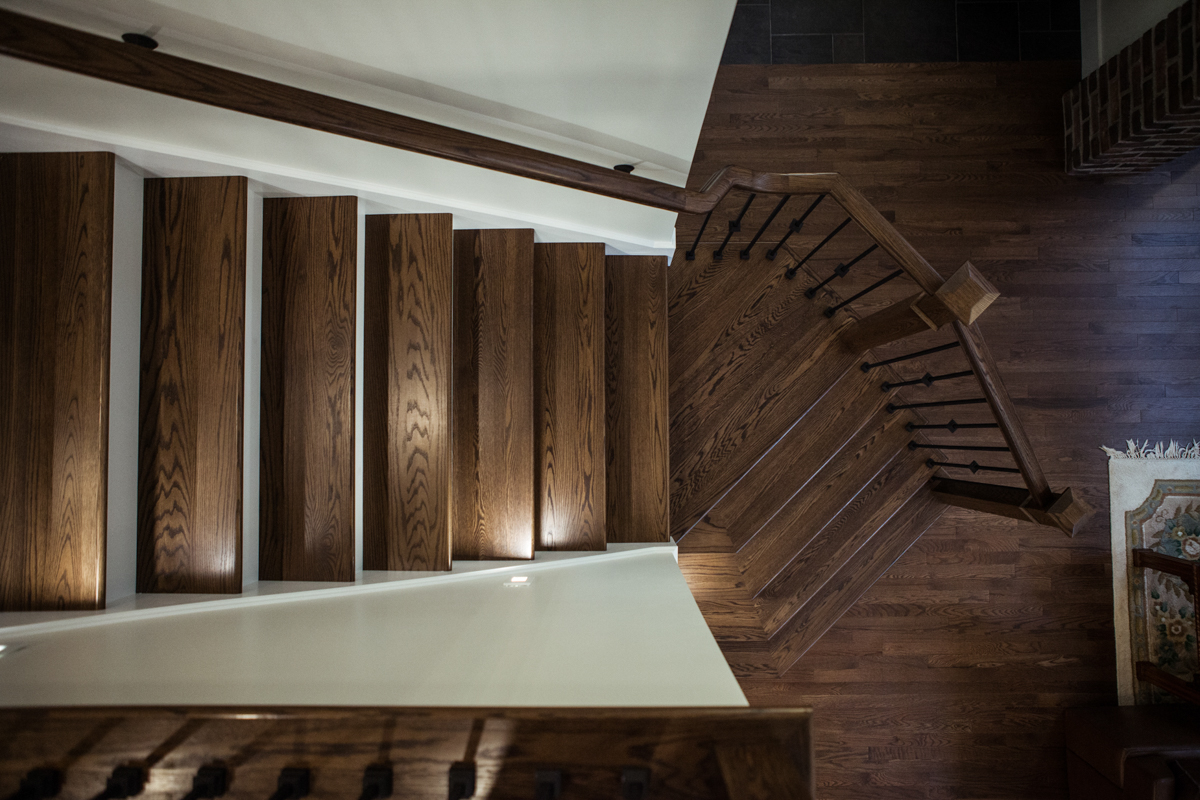
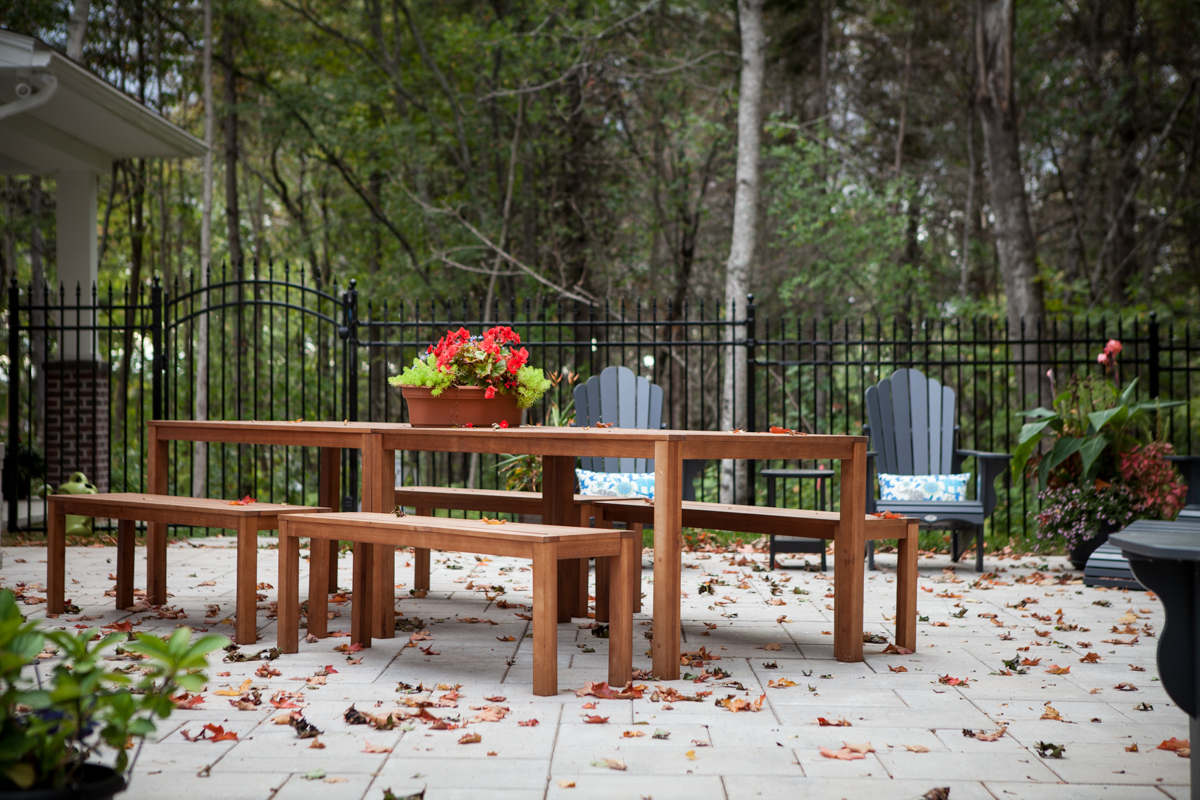
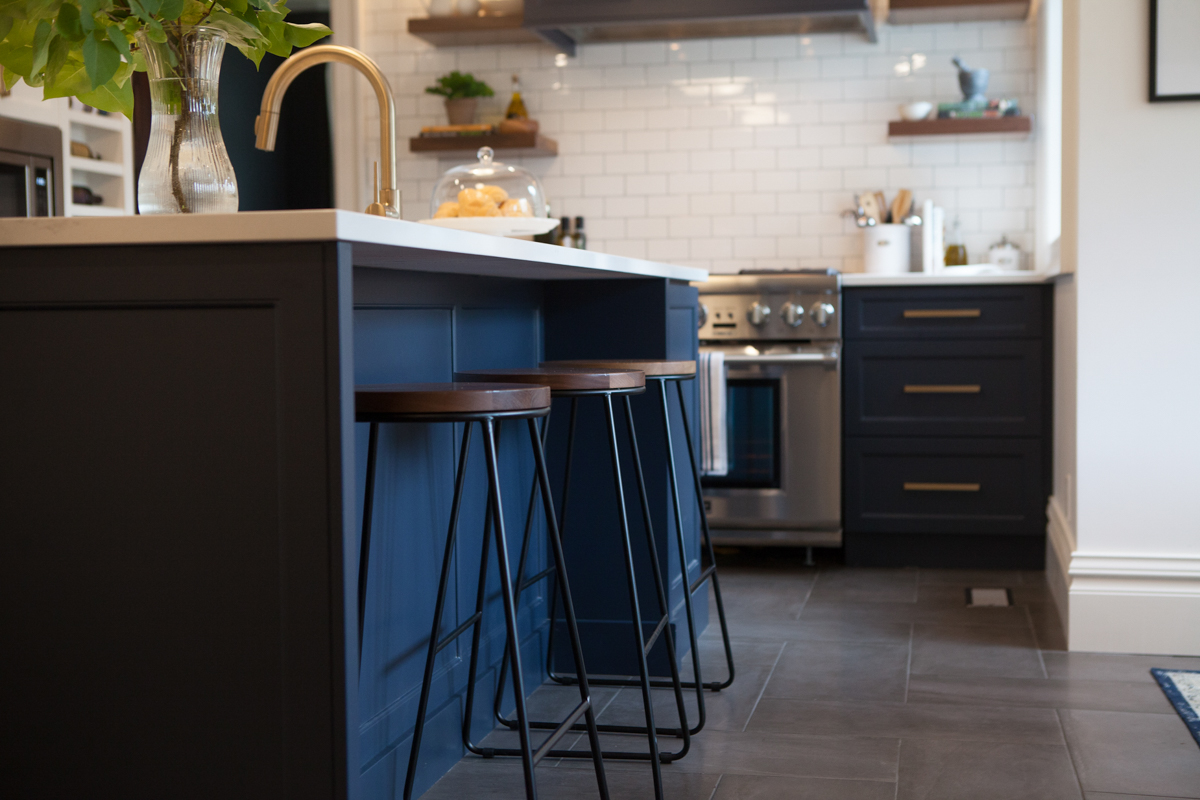
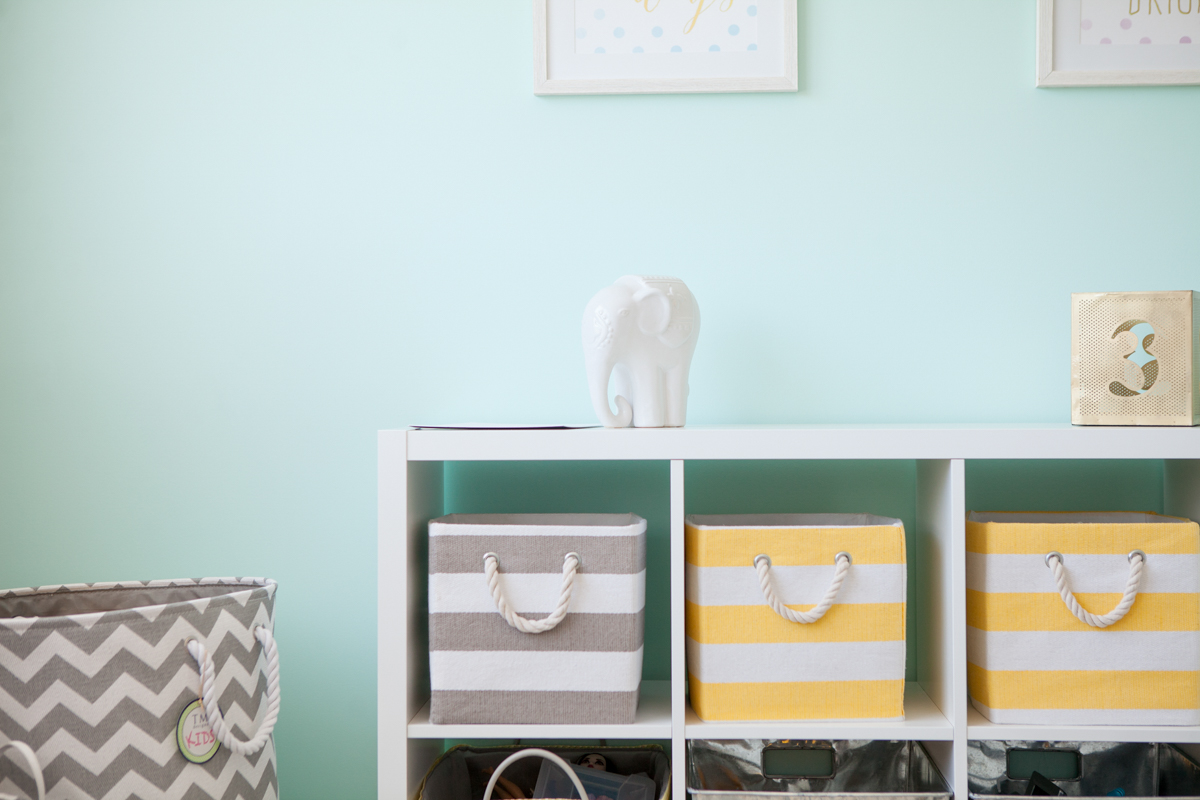
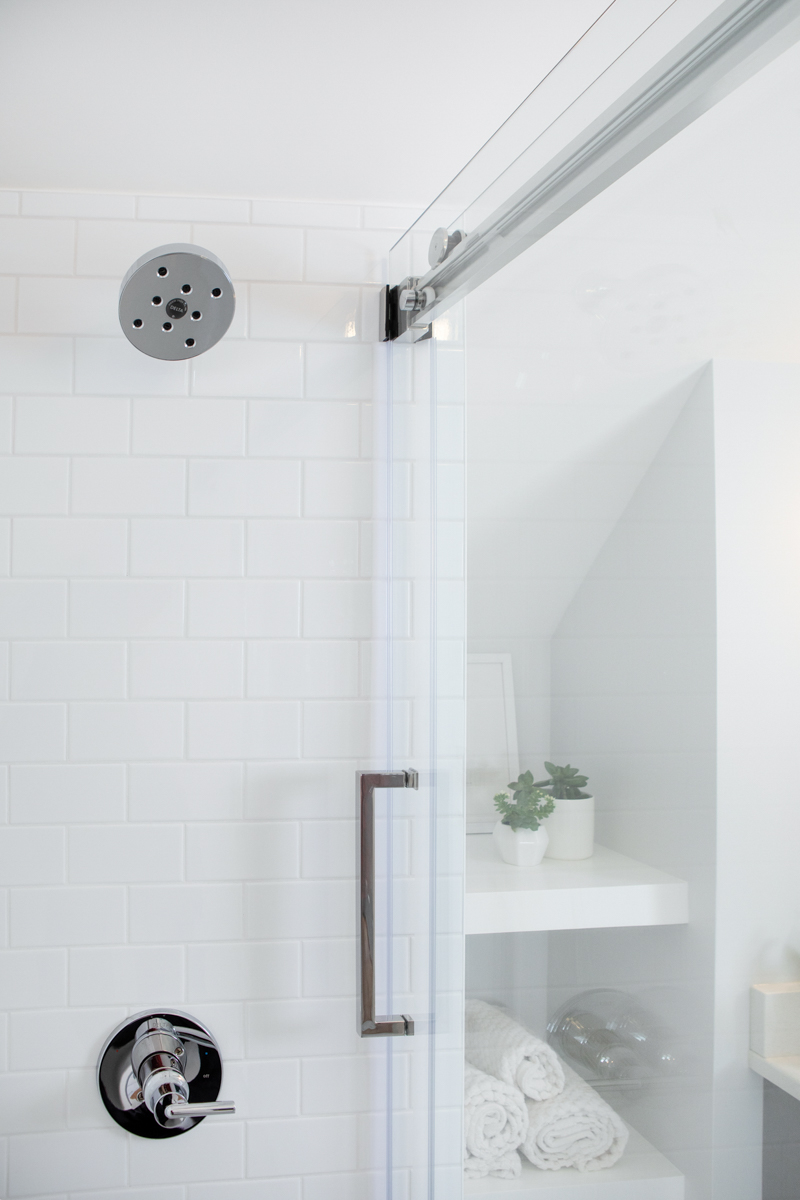
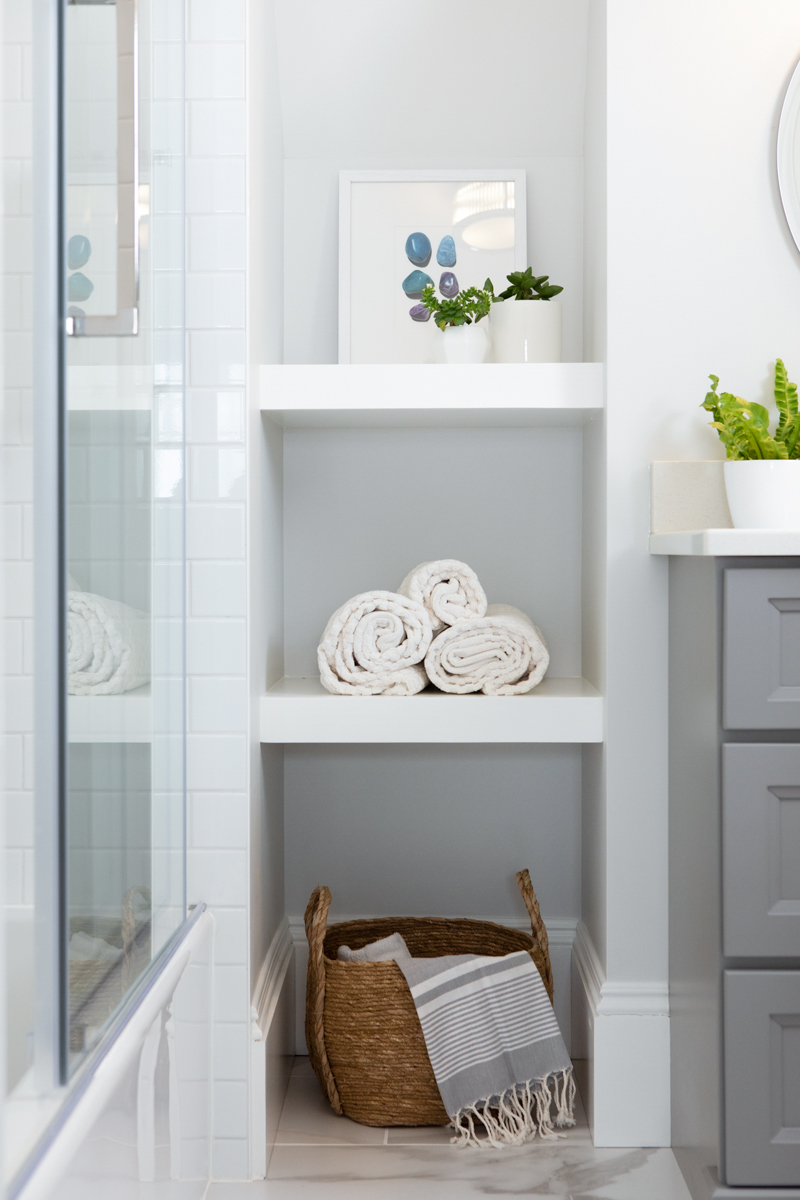
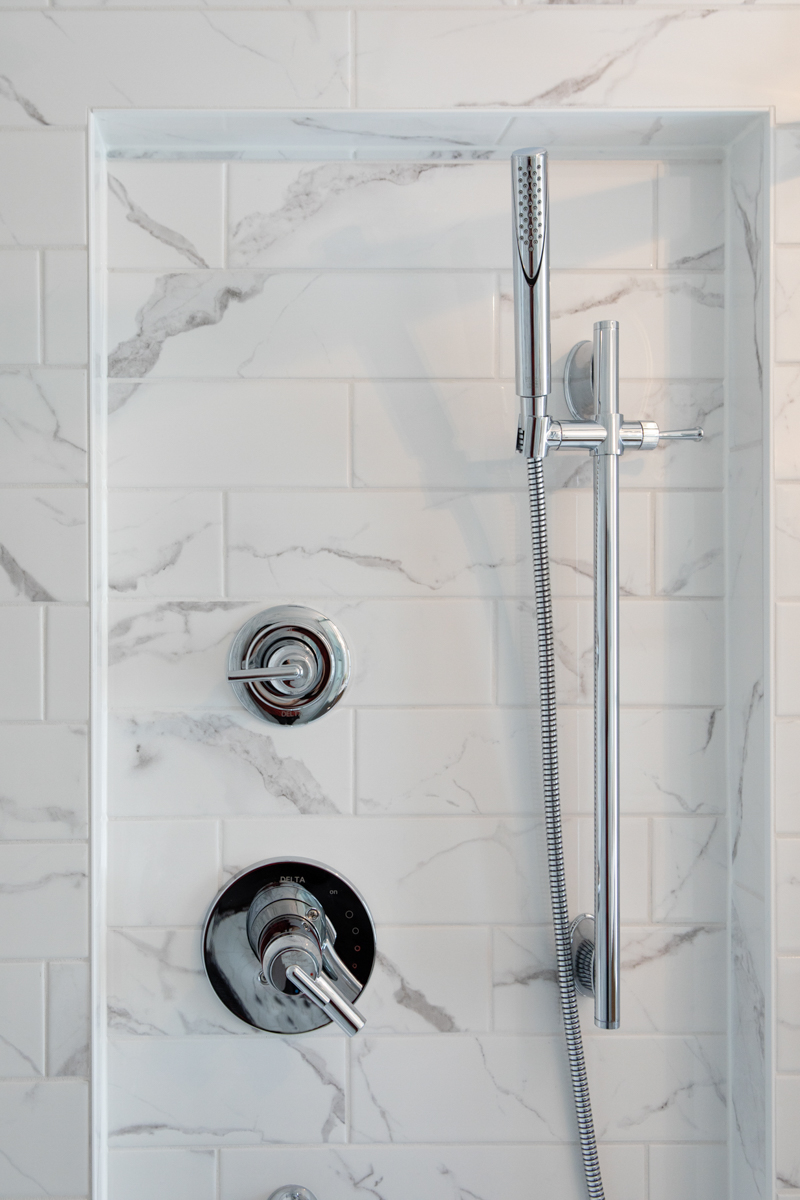
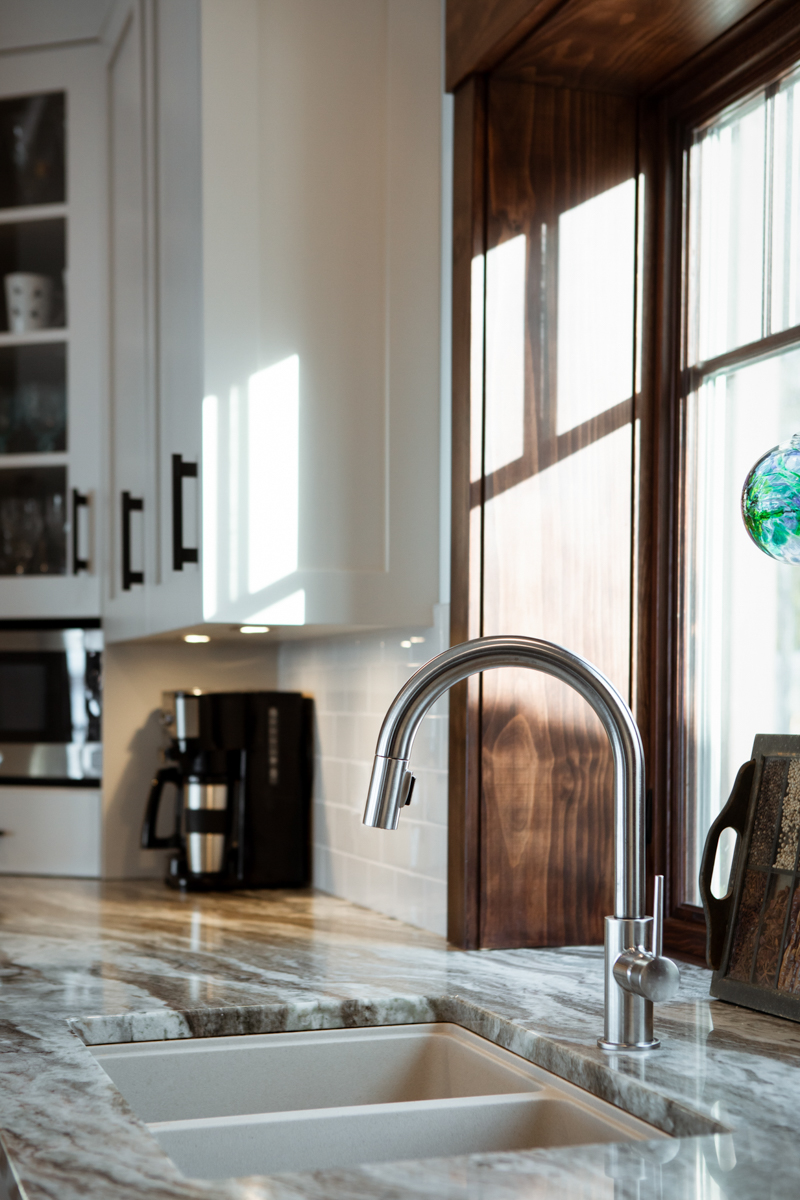
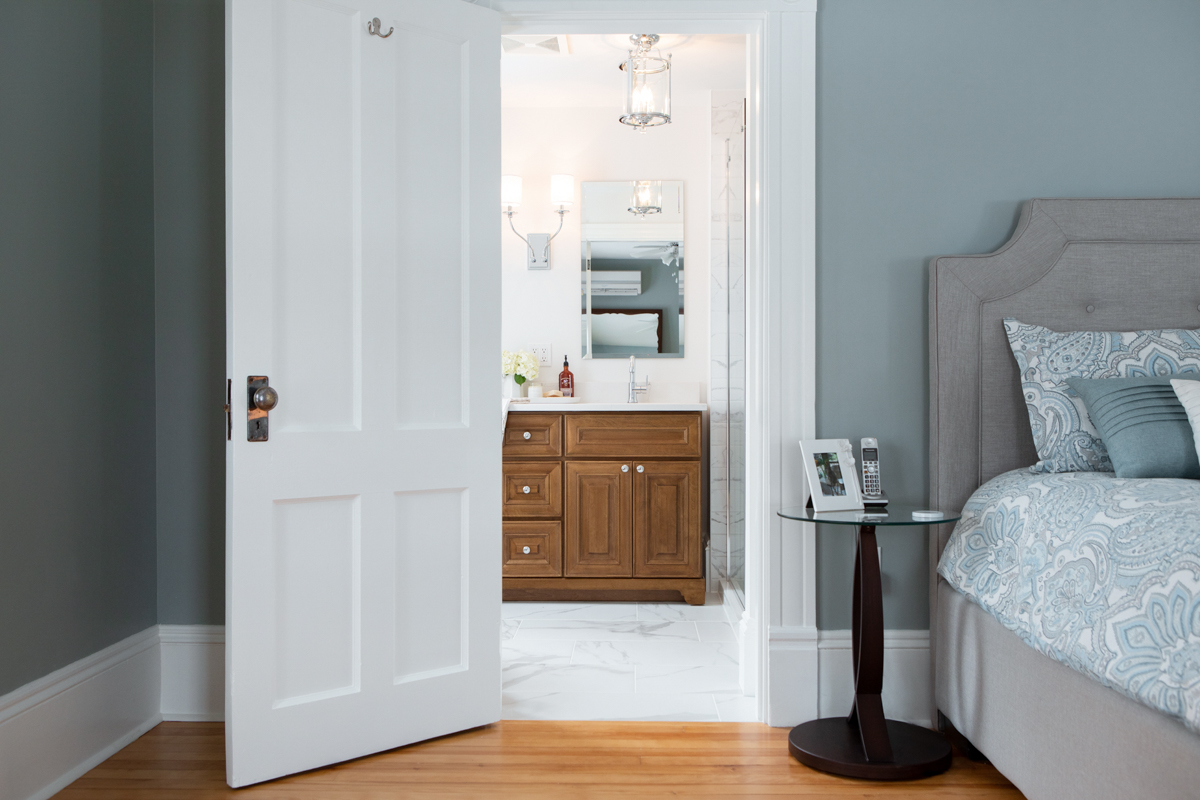
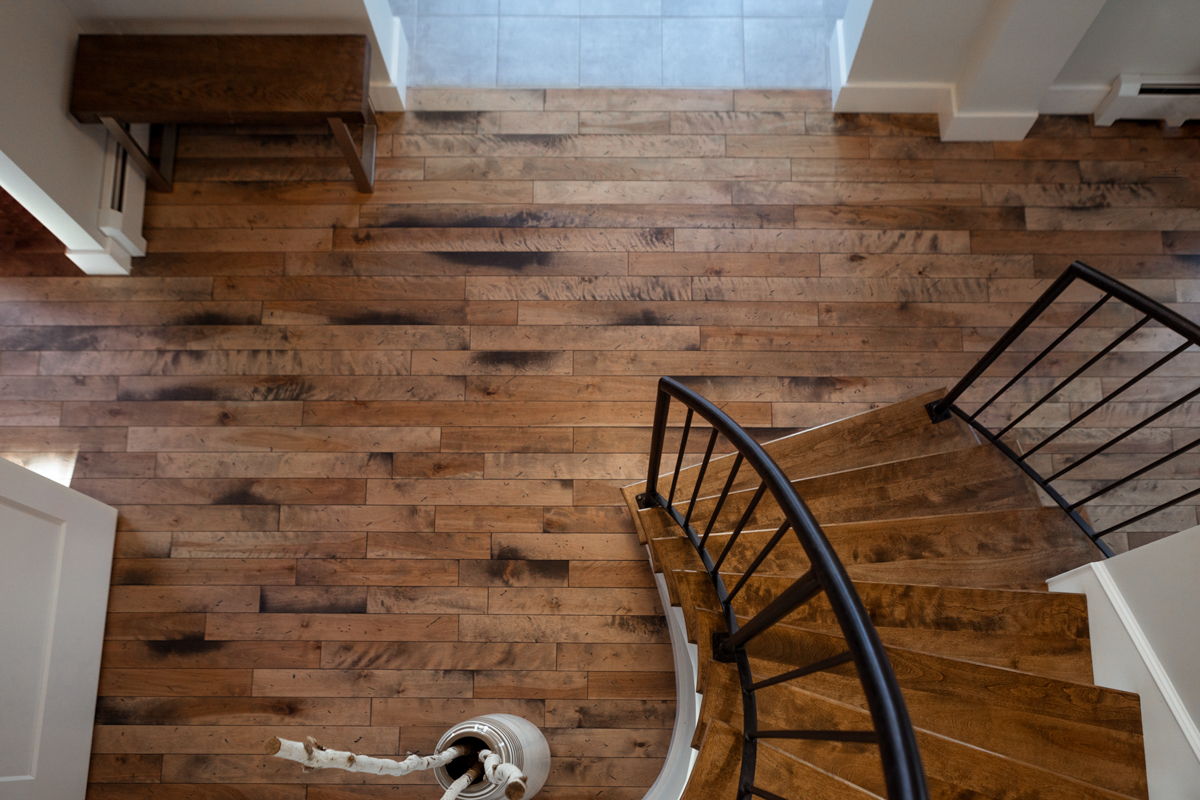
Detail shots:
One of my favourite things to edit are detail shots, whatever type they might be. It gives attention to a specific part of the whole that might get overlooked in a fuller image, but here the object is the point! It helps you see the hard work put into every aspect of the design and lets you look at things with a different perspective. Personally, I think this is where Chris’ work really shines! Here I’m going to focus on wood-grain detail shots. In a lot of the homes we shoot there are some incredible wooden details, whether it be in the chosen home décor, or beautifully crafted handrailing's of a spiral staircase, it’s important above almost anything to make sure the detail of the grain and colouring of the wood rings true in the image as it would in real life. This one takes a fine eye for sure, but once you get a handle on it (and benefit from your boss’ experience in the field) you can use the colour correcting tools, HSL sliders, clarity and sharpness tools to make the boldness that the wood has naturally to really stand out.
Bang-On Photography - New View Designs
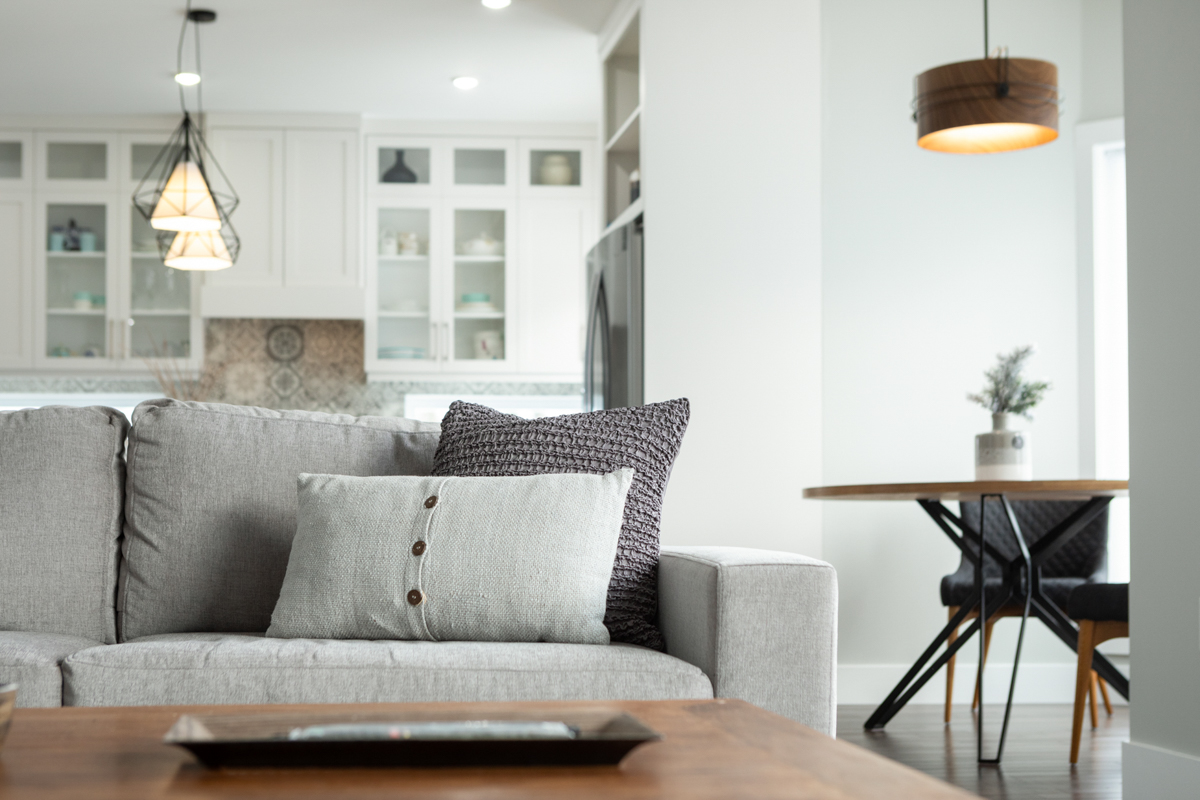
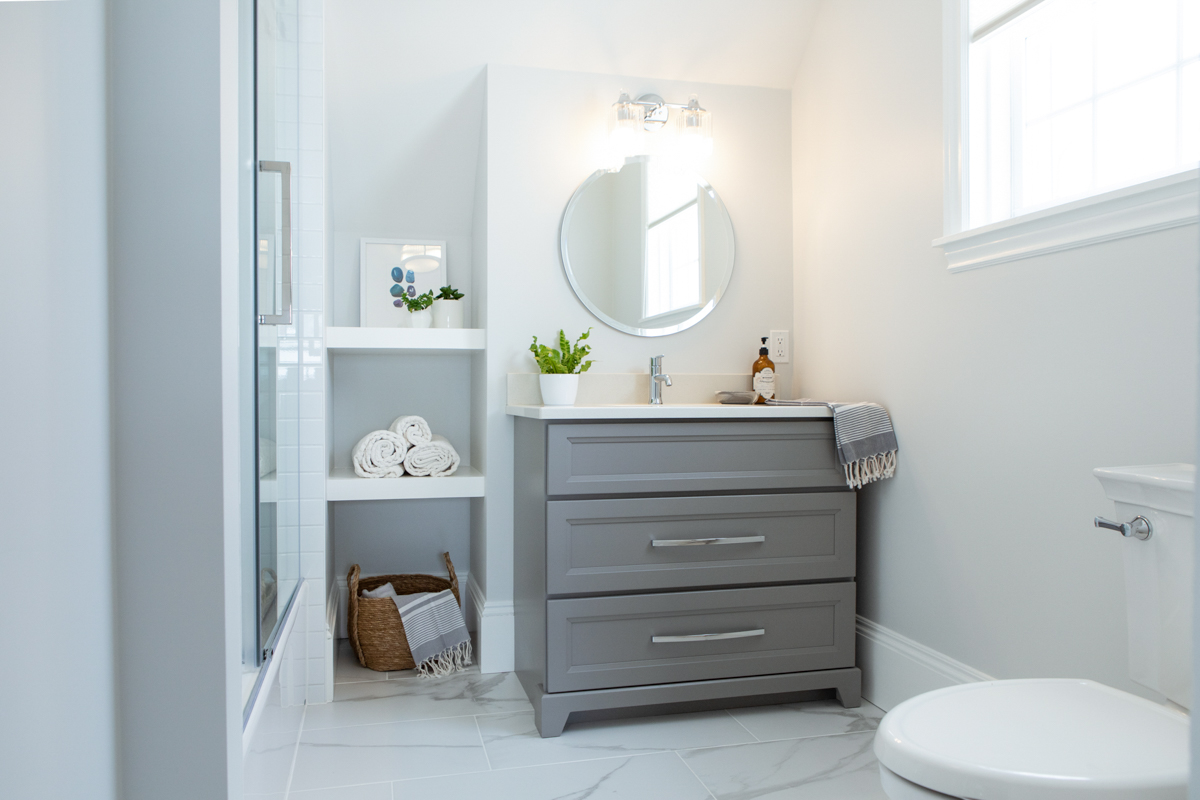
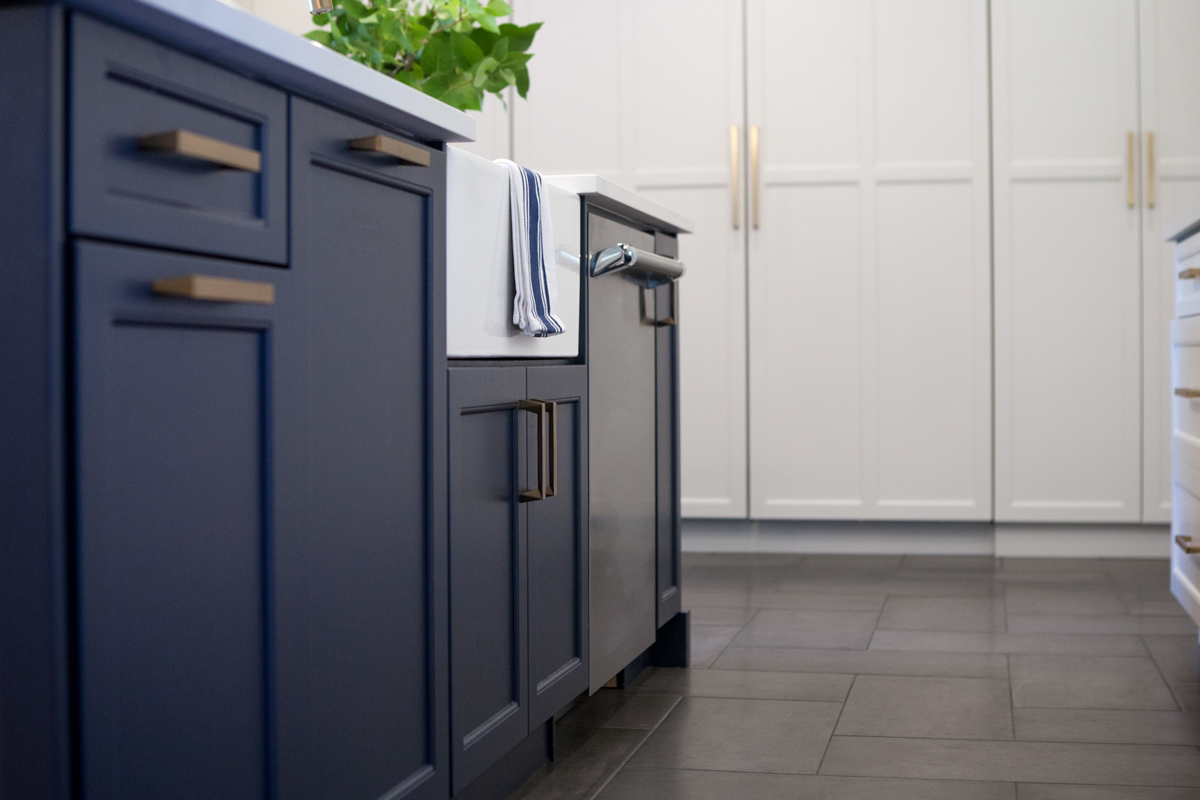
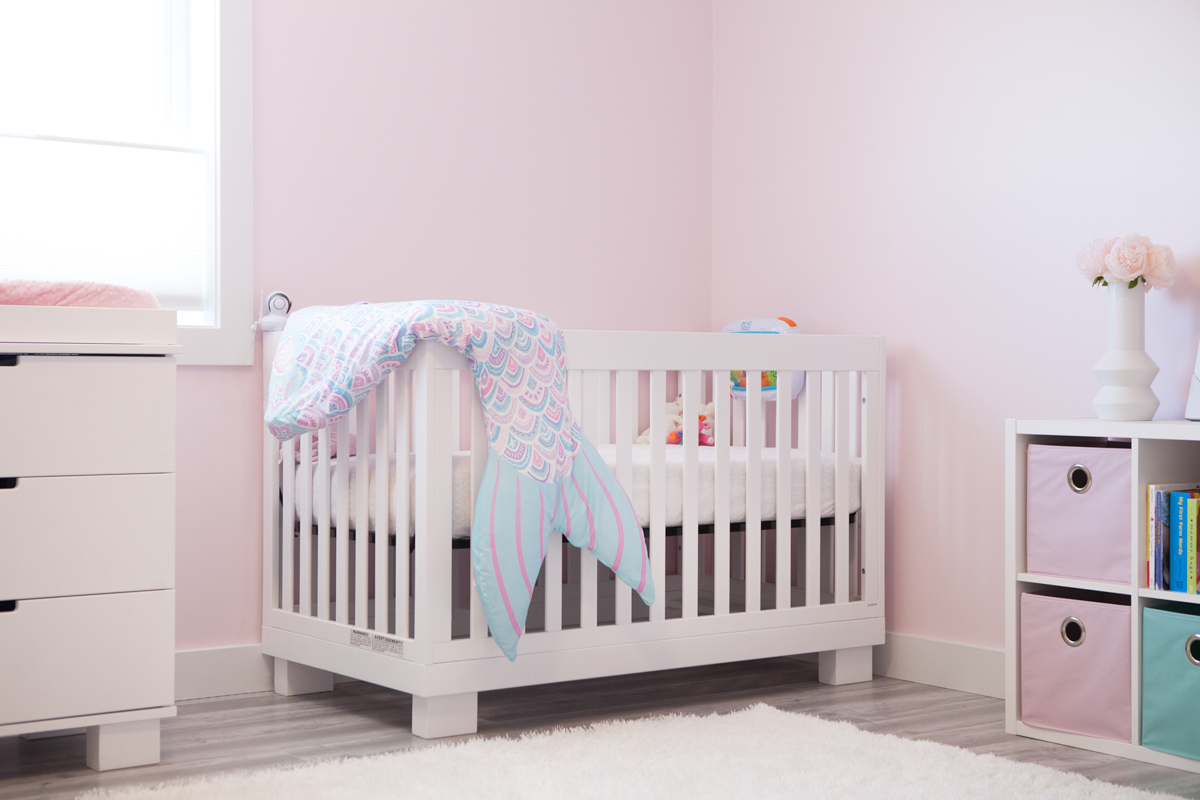
Transforming and Horizon lines:
This is where I get dizzy even thinking about it: correcting lens warp. It took a while to get my head wrapped around this but it’s one of the most important parts of proper interior editing. You need to use a wider lens when shooting inside in order to get the entire room, but the catch is the wider the lens the more the image can become distorted and warped. A good editor would never let an image out of their grasp without making sure the image has been straightened out and corrected to what the eye should see. The transform tool can be a bit much at times but it’s a key tool for any photographers and editors that shoot indoors.

Bang-On Photography - New View Designs
And there you have it! Of course, there is so much more that goes into our interior design editing then I could ever fully explain in a single blog post (and this only from the post-processing side of things!) but hopefully you’ve found this insightful! Maybe if we’re lucky Chris will write a blog post about the on location set up and execution of an interior design photo shoot, but that remains to be seen. Finally; we would never go without crediting the hard work of the designers and homebuilders featured in the images of this post, so if you’re interested in seeing more of their work or hiring them for one of your projects you can find them all listed below! Until next time everyone, Bang-On!
-Holly Brown Bear
(All images copyright Bang-On Photography)